Scallop Christmas ornament
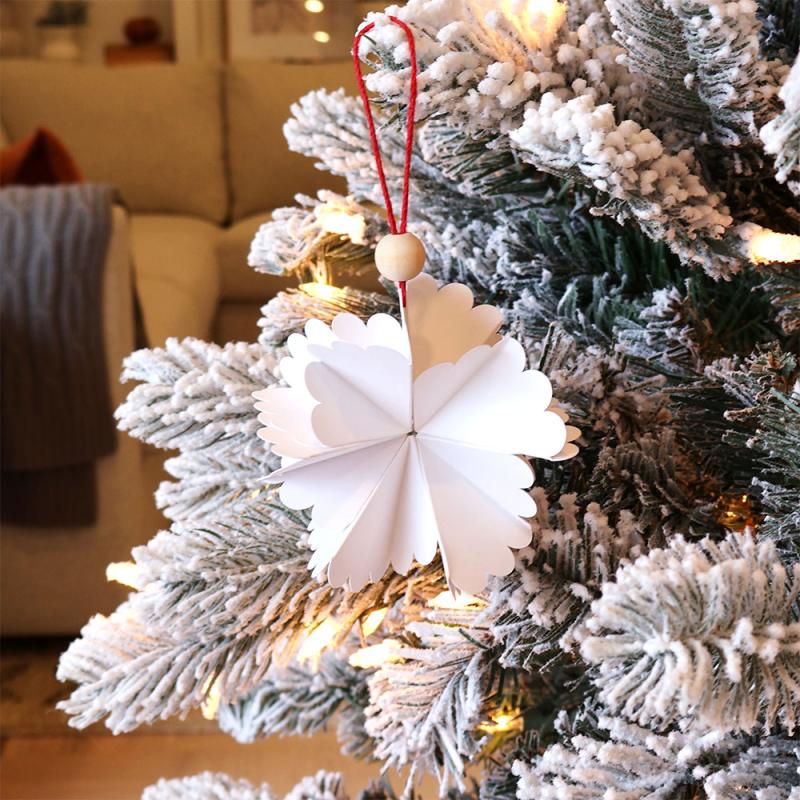
Here are the instructions for putting together the scallop ornaments. This ornament really struts some nice texture when it is all put together. It's easy too. I recommend using a permanent bond glue stick for this project. Something like this type of glue stick (affiliate link) or similar.
Your kit has 10 scalloped oval circles, two pieces of string and two wooden beads which is what you need to make two ornaments.
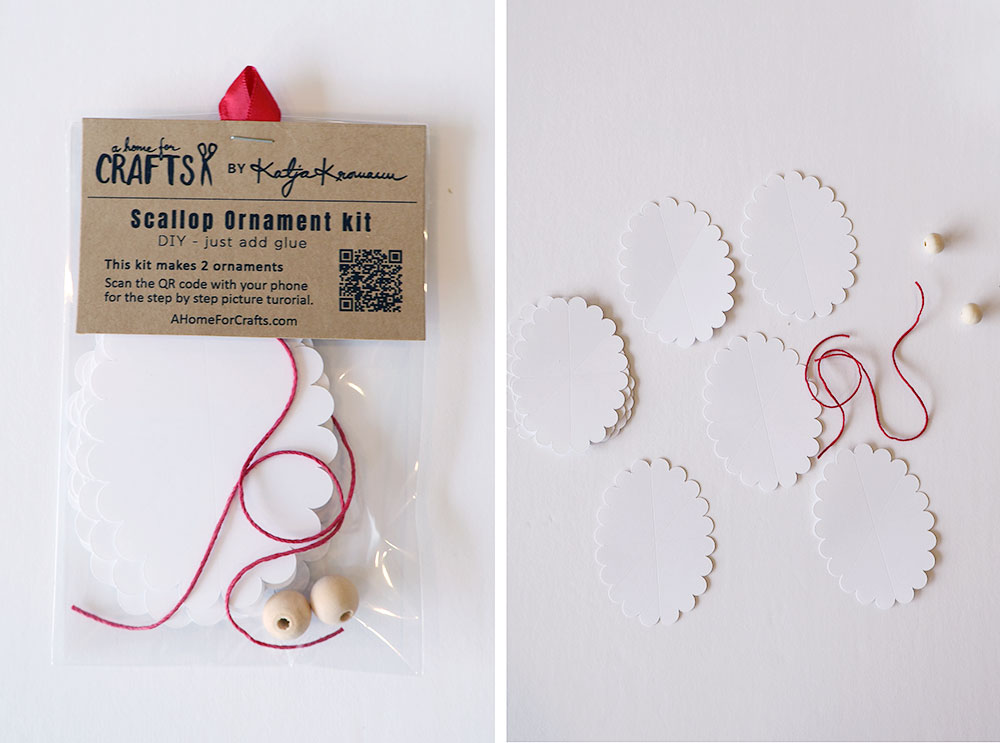
Each scalloped oval has score lines which you can see if you hold up the circles and angle them towards a light source. They look like this.
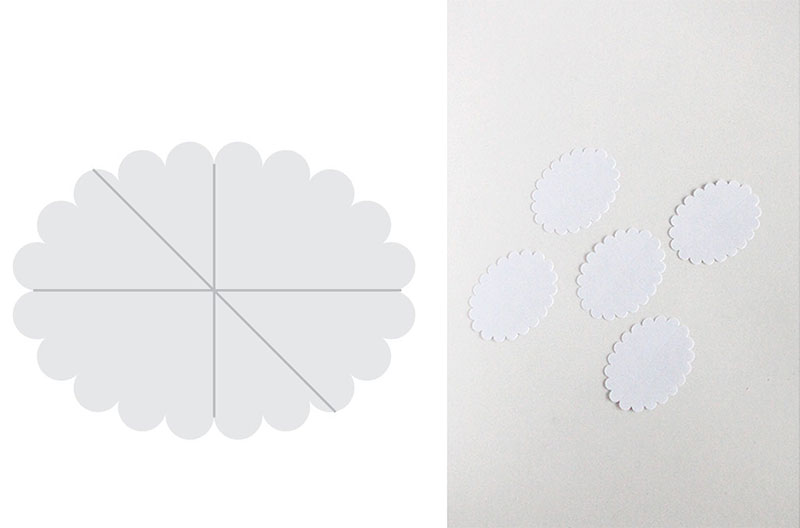
Turn the side with the score lines up to begin folding.
Make valley folds along all the score lines and make sure that the fold line on the diagonal is going in the same direction on all five - upper left corner to lower right corner. After valley folding all the score lines, turn the 5 diagonal folds into mountain folds as shown below.
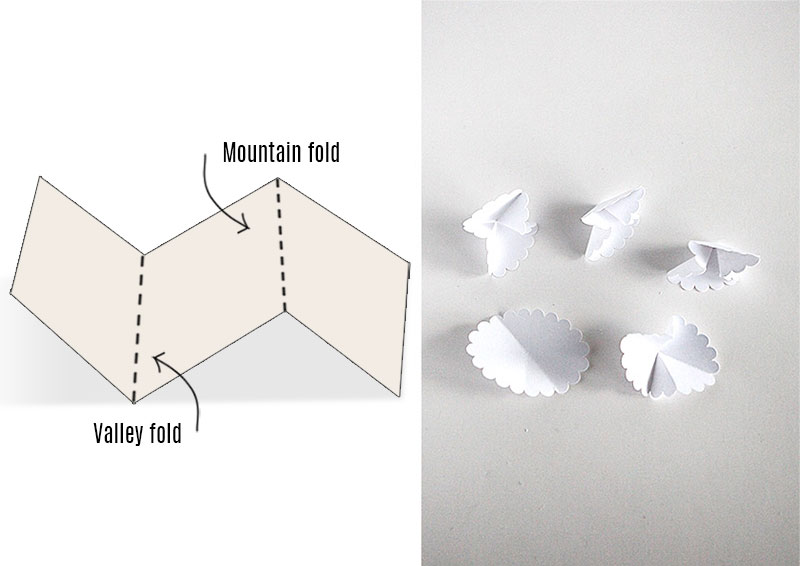
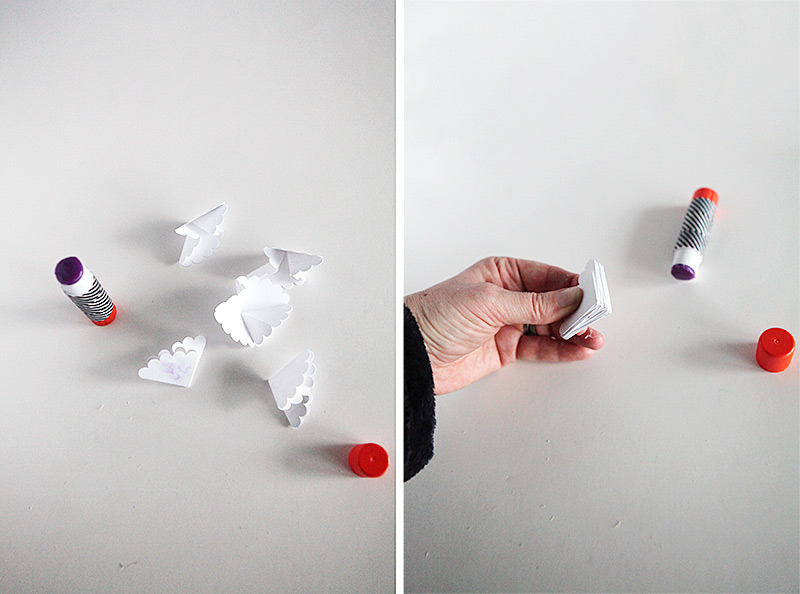
Next fold them into quarters by accordion folding them as shown. They must all be turned the same way as you glue them together in a stack of 5. Be careful only to glue where the parts will connect. Take a look by holding two of the pieces together before adding glue to see where the parts will connect and only add glue to that part.
Glue together a stack of 5 accordion folded scallop ovals - see below.
Next, insert the piece of string for hanging while gluing the first triangle to the fifth one by opening up the accordion and folding it back onto itself in a circle. You can then push on the glue attachment while it sets up as shown below.
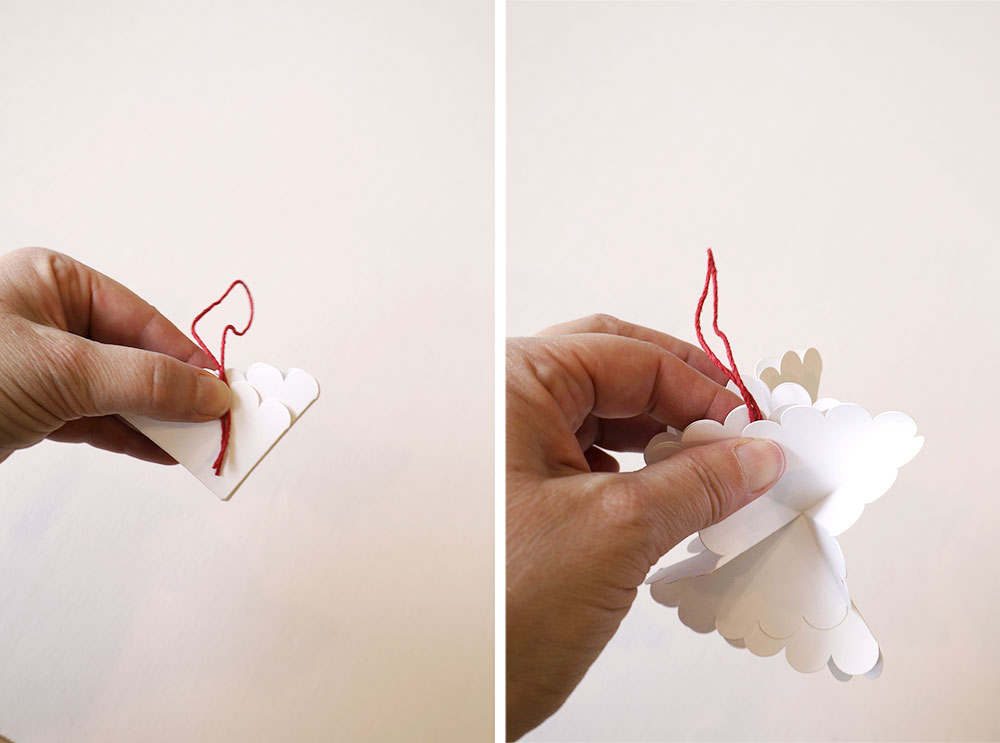
Final touch: add a wooden bead included in the kit to the string. I used a piece of bent wire to feed the bead onto the string.
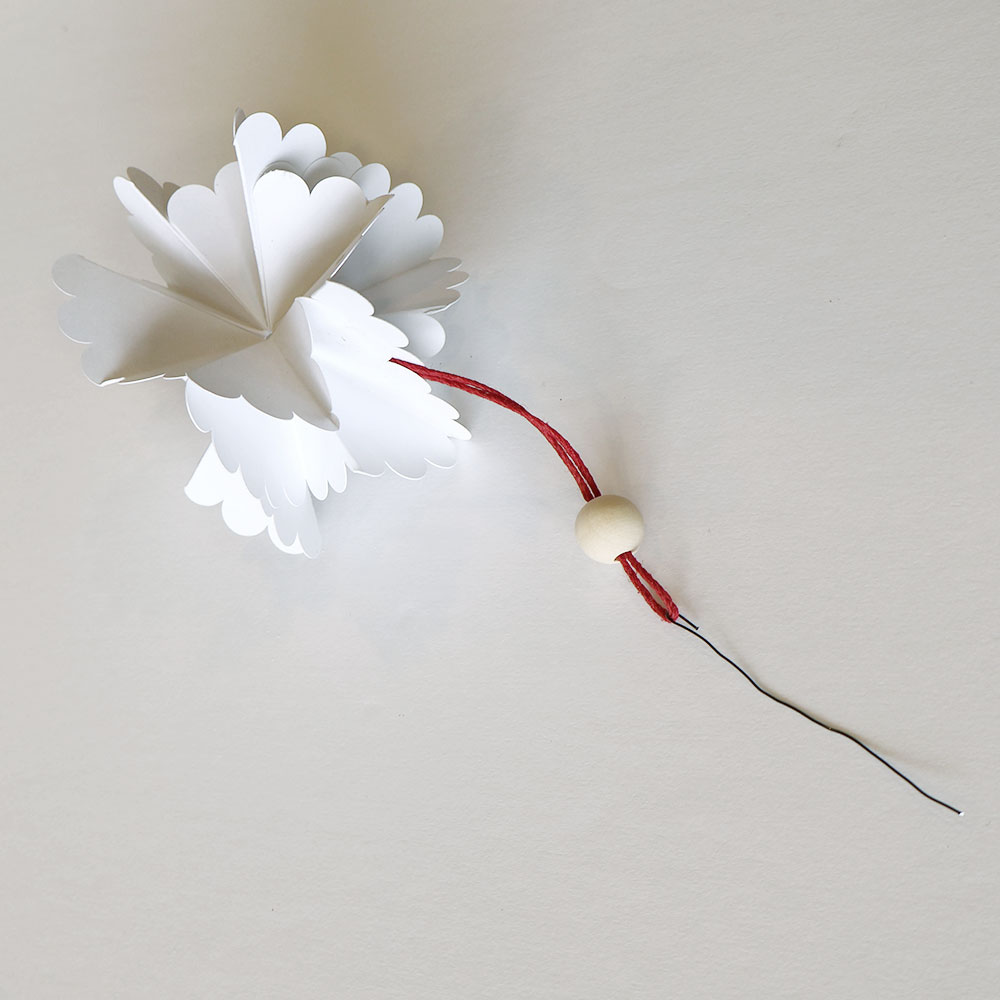
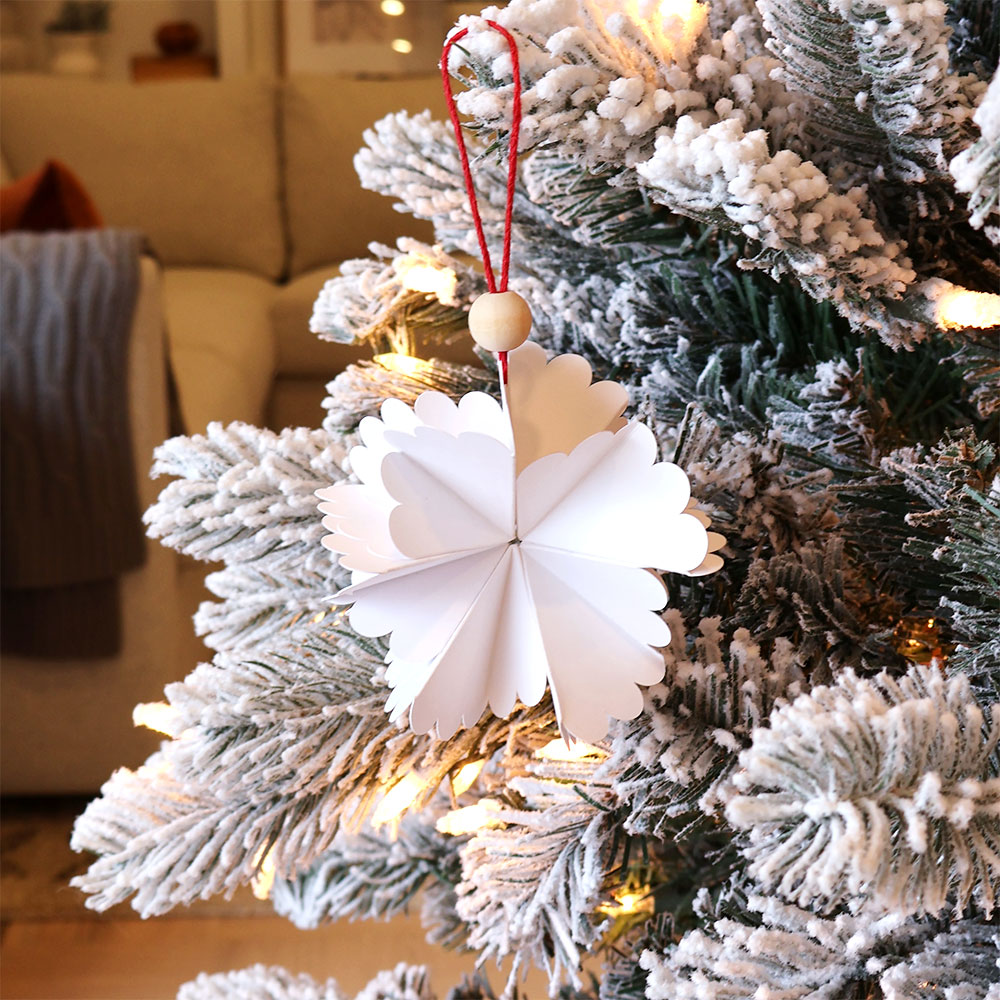
After the glue dries completely, your ornaments are ready for hanging on the tree or be used as a gift topper on a present.
I also make ceramics and you can find my ceramics website here: A Home for Ceramics. Follow me on Instagram where I post about my ceramics journey.
Some blog posts contain affiliate links to products I use. More information
This article: Scallop Christmas ornament first appeared on http://ahomeforcrafts.com.
Share
