Celebrate
Decor
Material
Seasons
Home
By Katja Kromann
Submit a Craft
Seasons
Christmas
Christmas trees with wooden stands
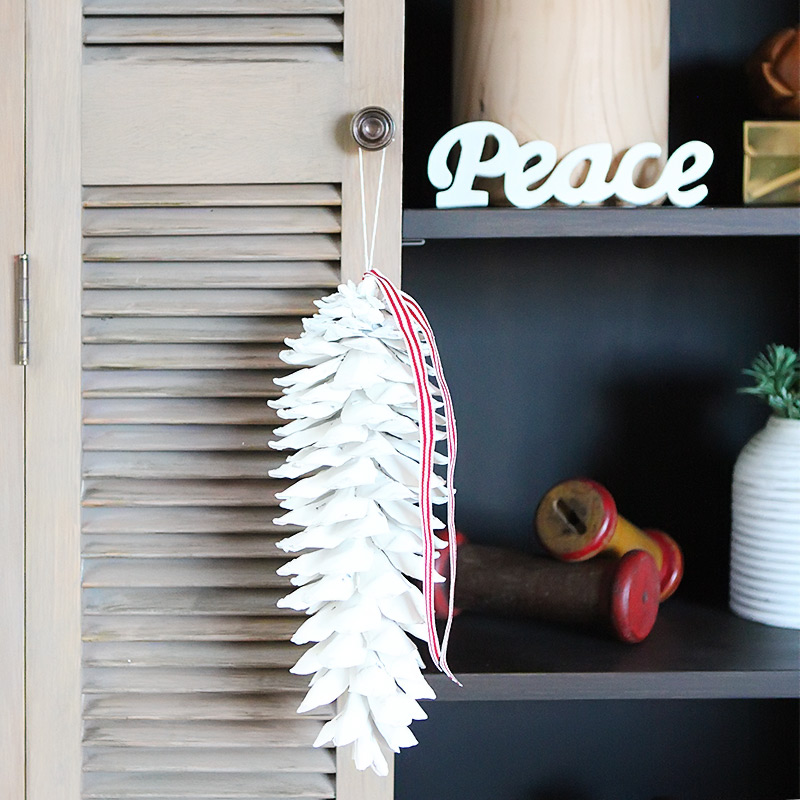
White-washed pinecones
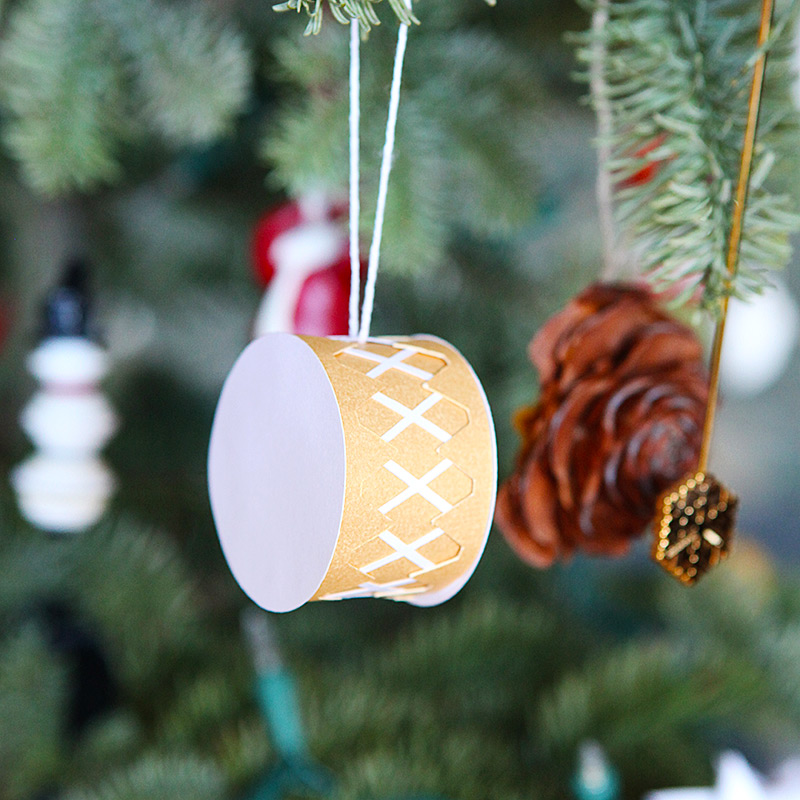
Christmas drum ornament
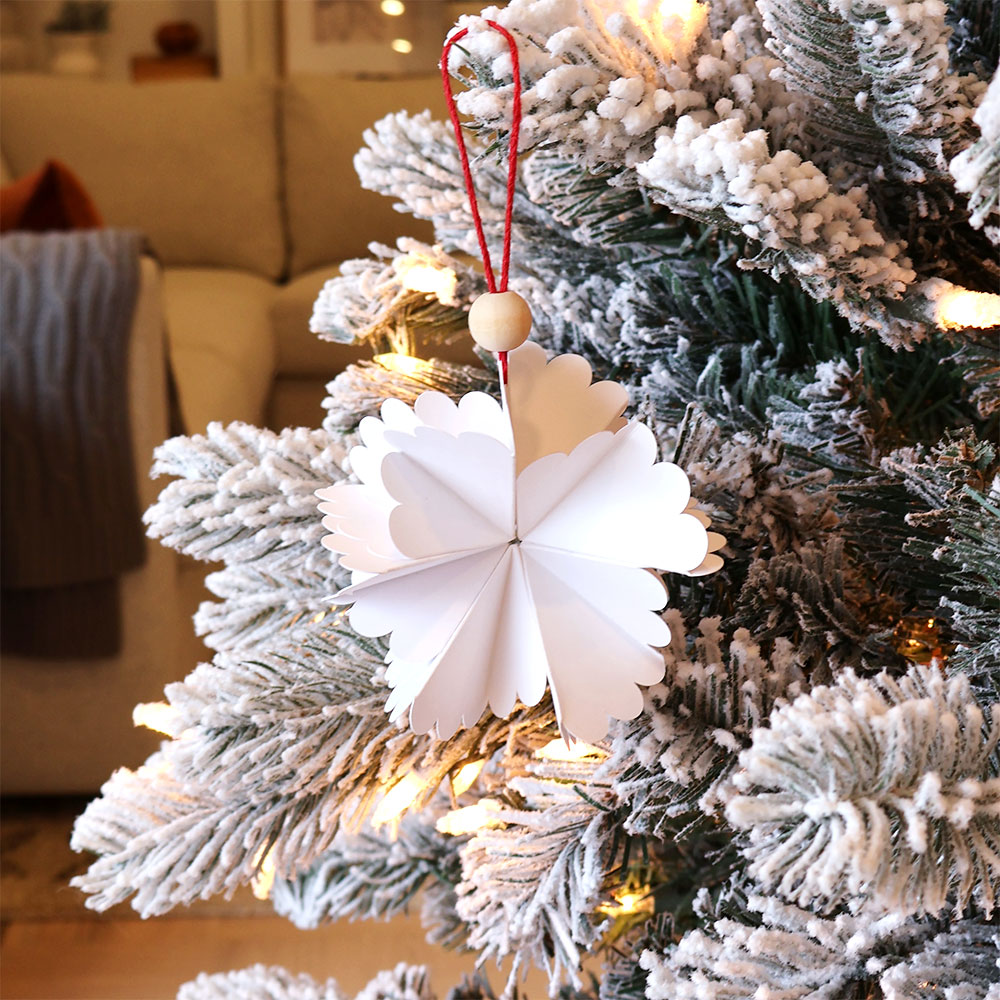
Scallop Christmas ornament
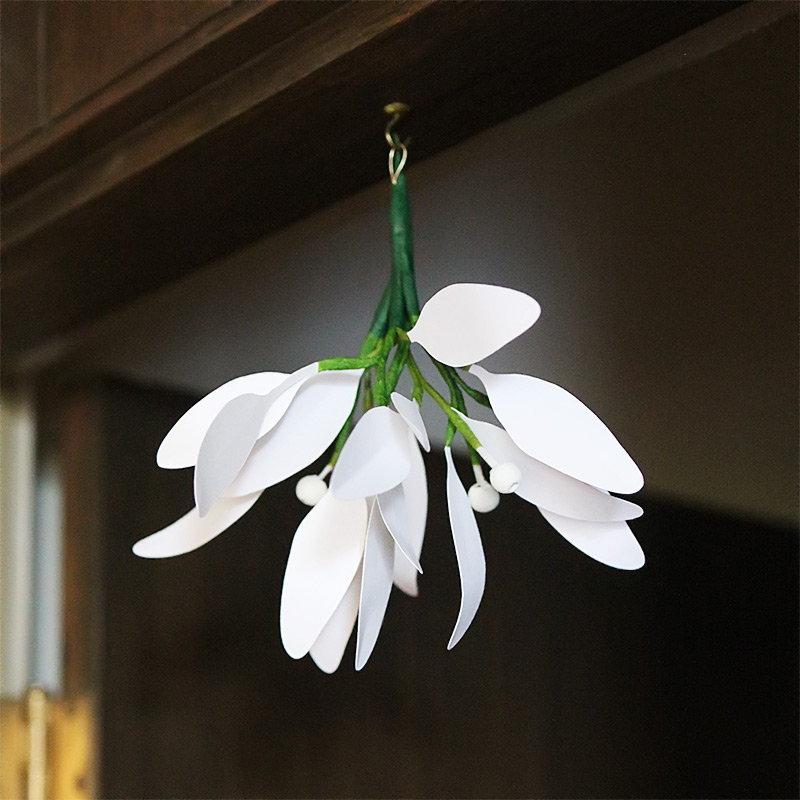
Make a white mistletoe with friends
Santa Claus make over - sewing him a new outfit.
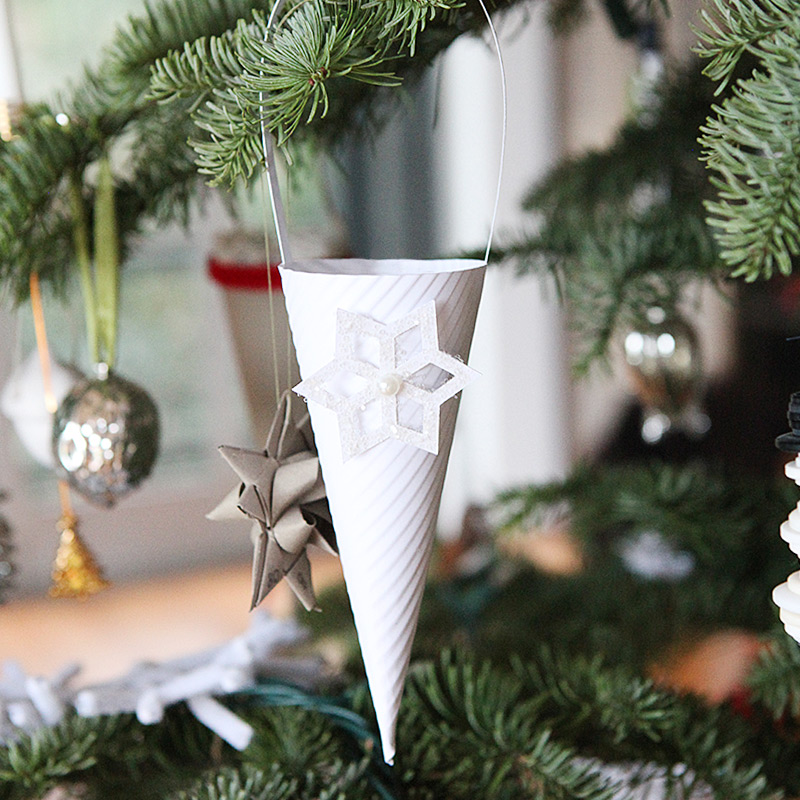
Christmas ornament - cones for candy
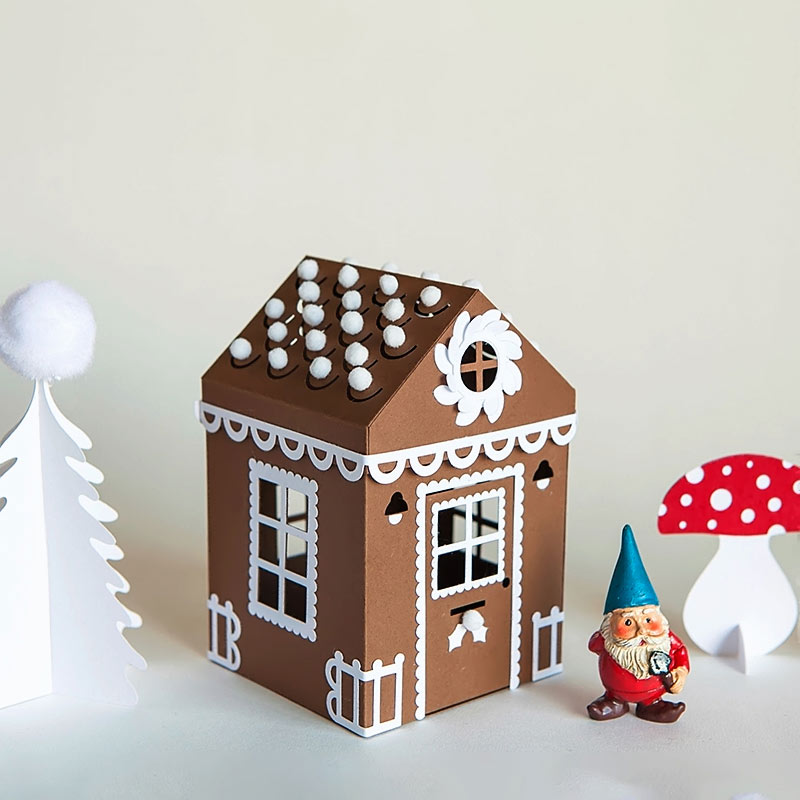
Gingerbread house accessory pack
Gift card gift box with bow
Candy cane gift tag - free cut files
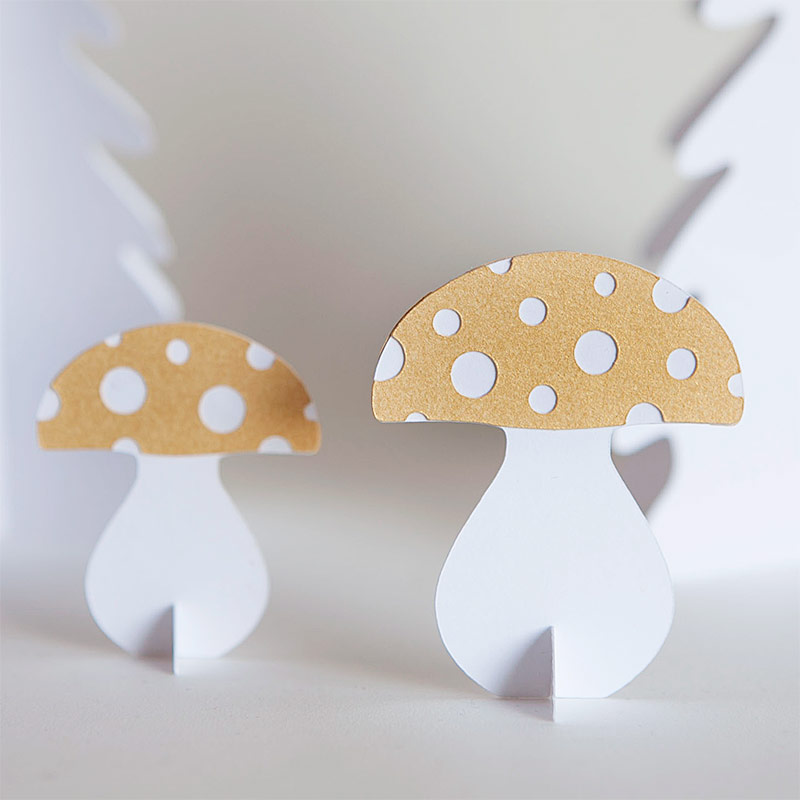
Paper toad stools - free downloadable template and cut files
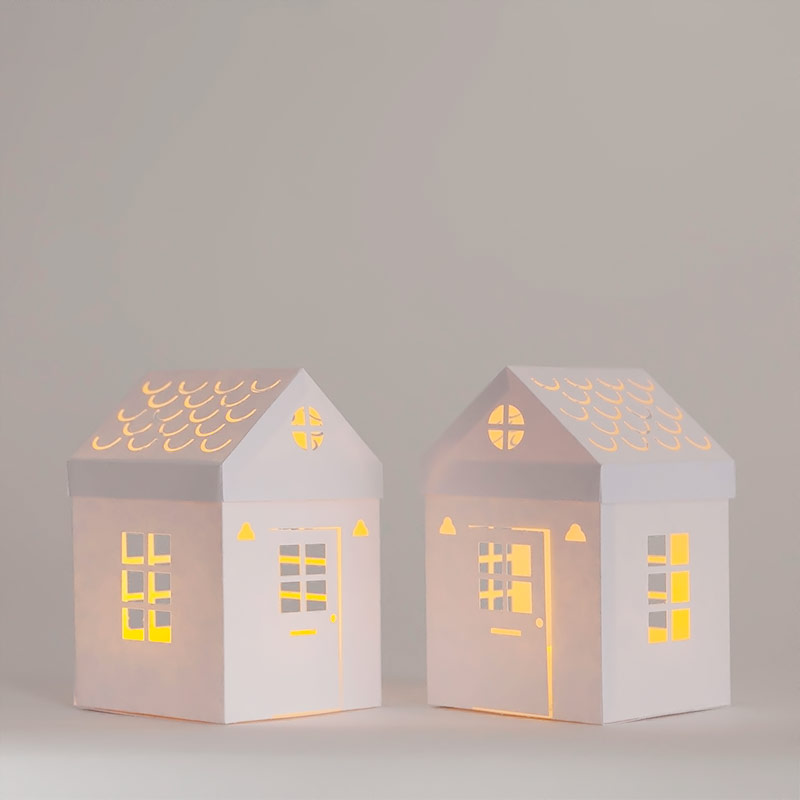
Tea light paper houses - with free templates and cut files
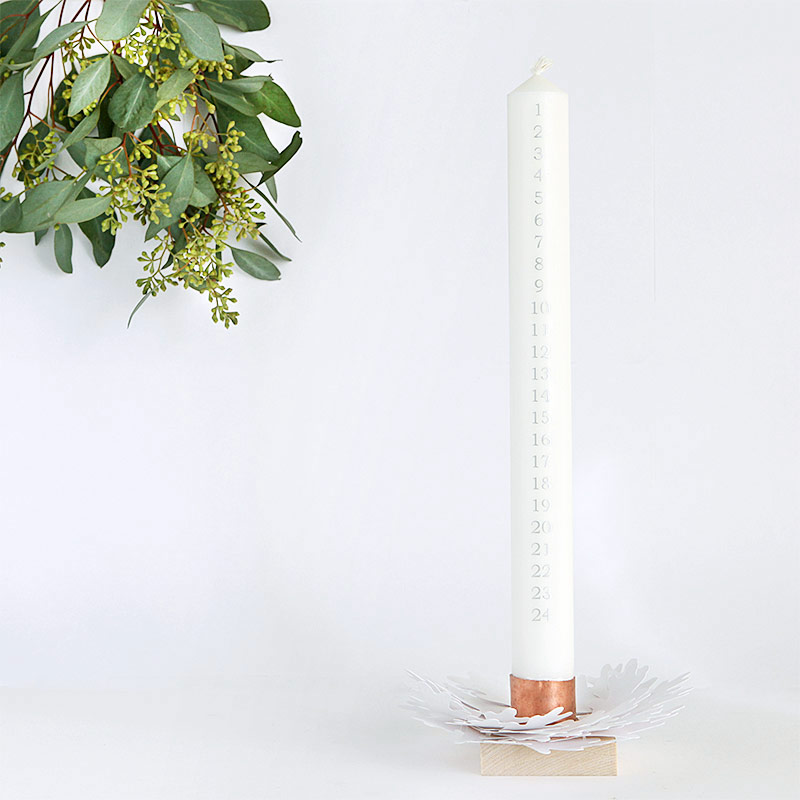
Christmas countdown candle and holder with a white oak leaf paper wreath - free template
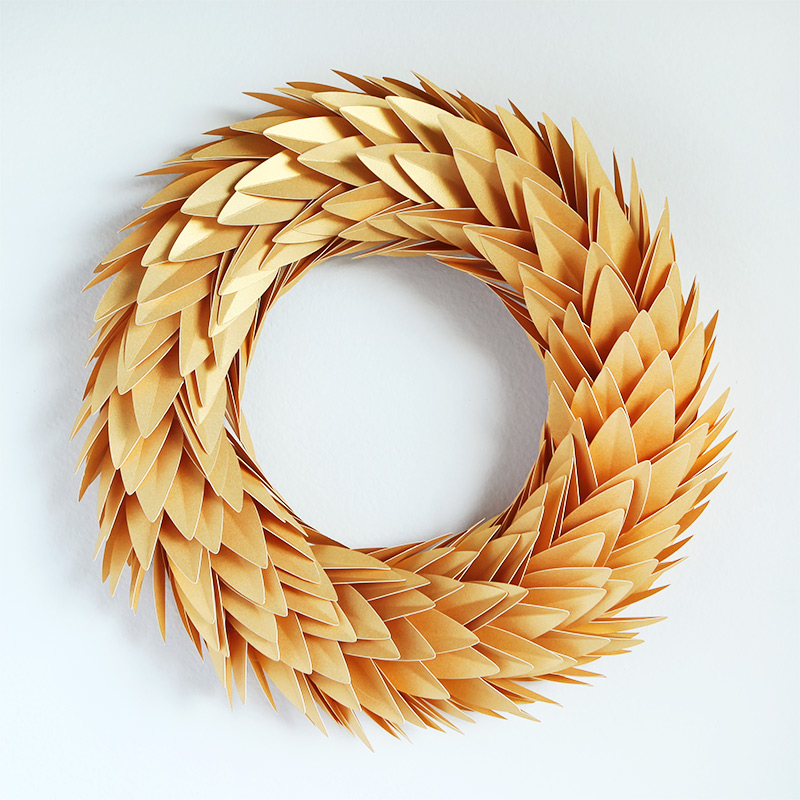
Gold leaf wreath DIY - with free downloadable template and cut file
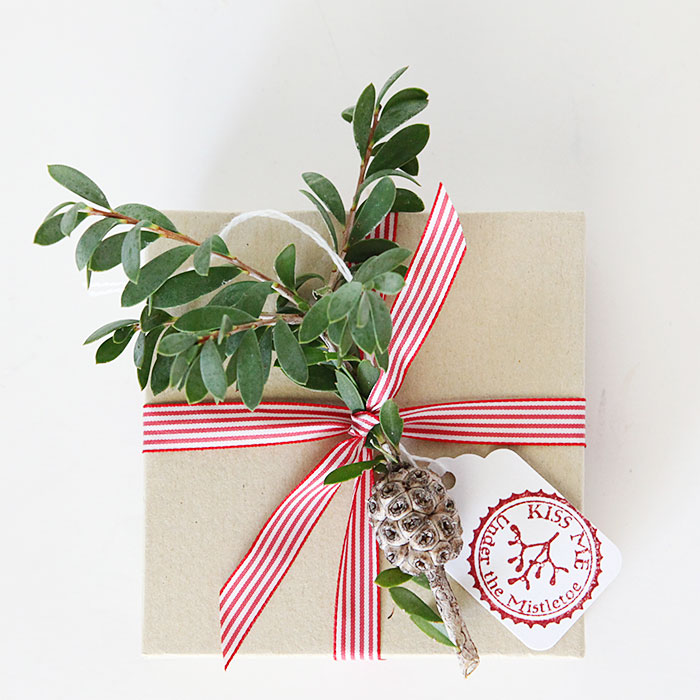
Christmas Jewelry box gift wrap
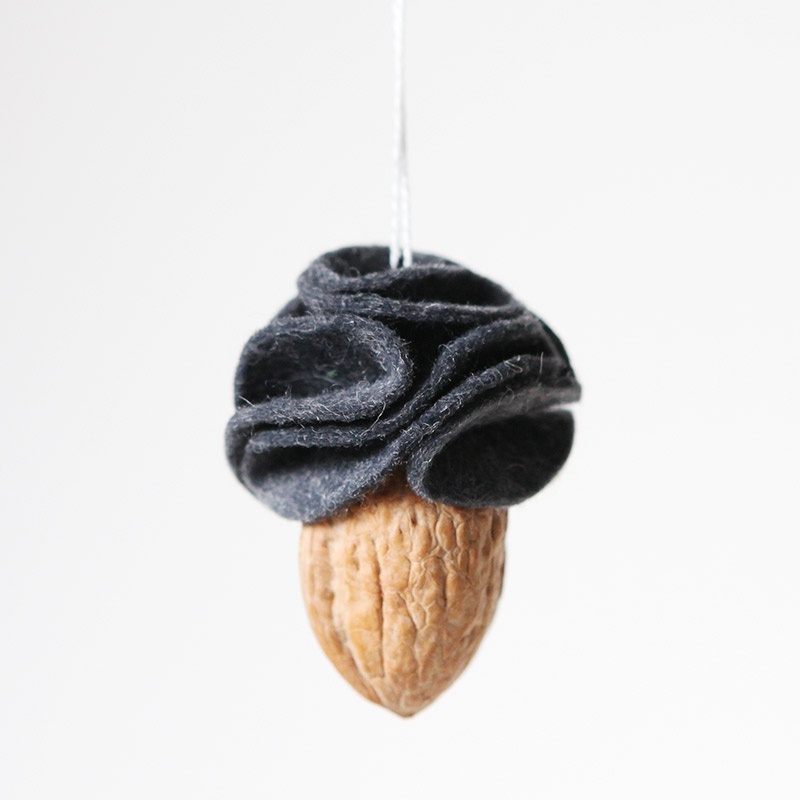
Felt flower ornament
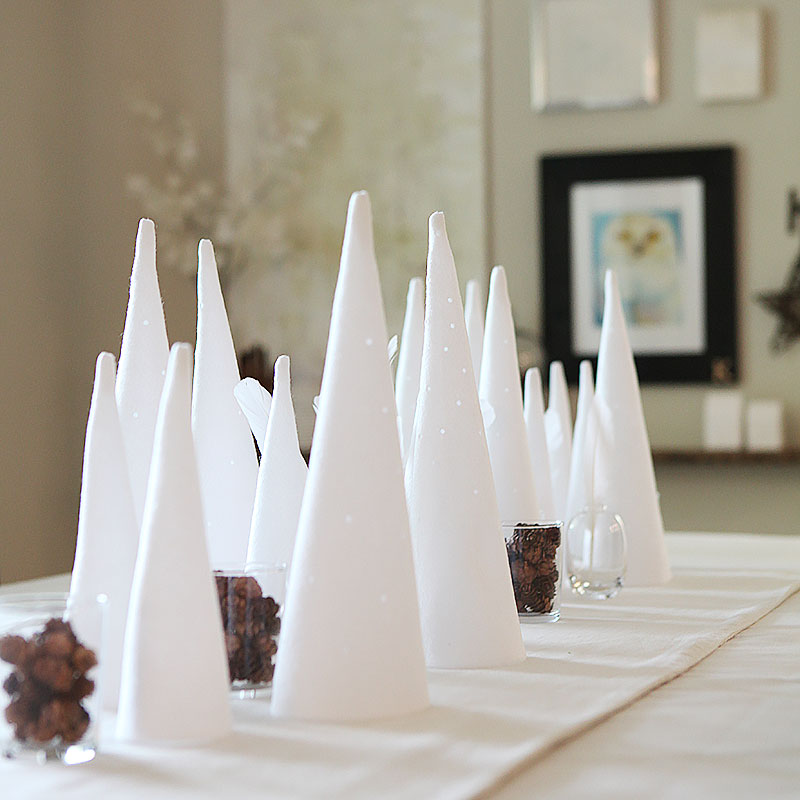
A felt tree Christmas forest
Easter
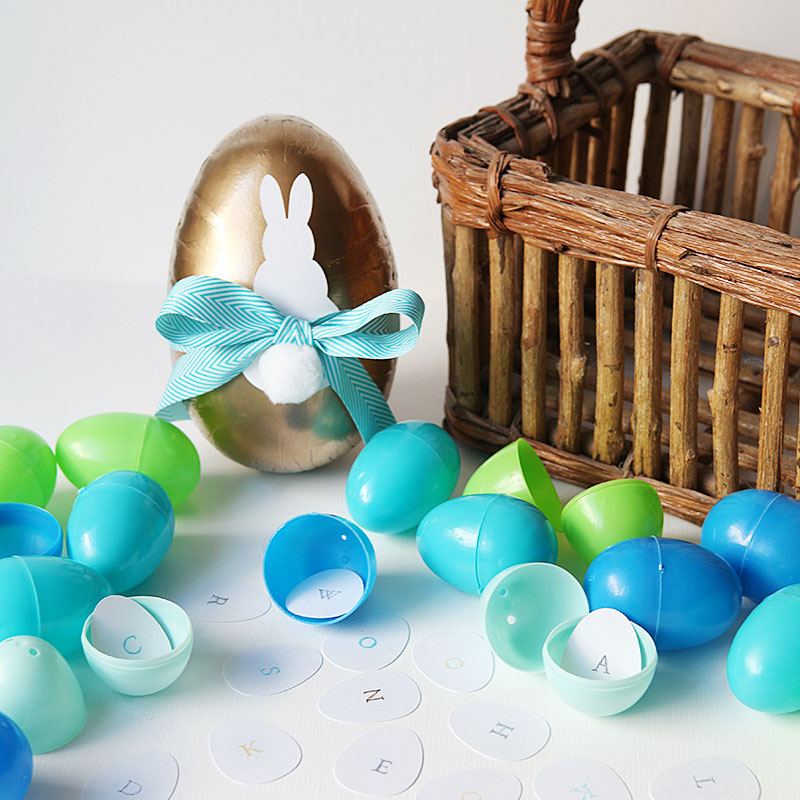
Candy free Easter egg hunt - with free download
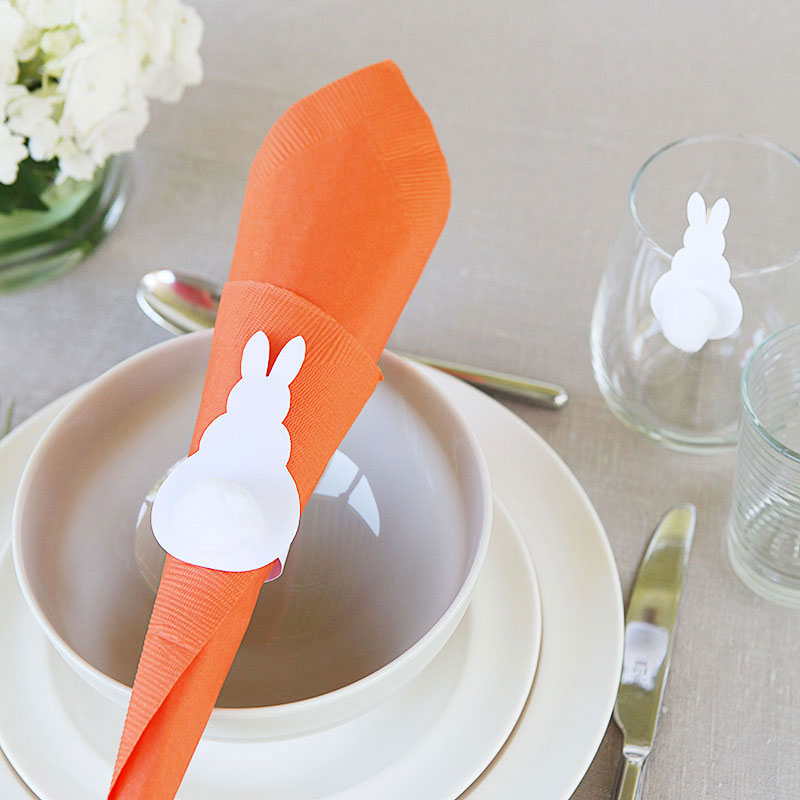
Easter bunny napkin ring and glass clip - with free download
Halloween
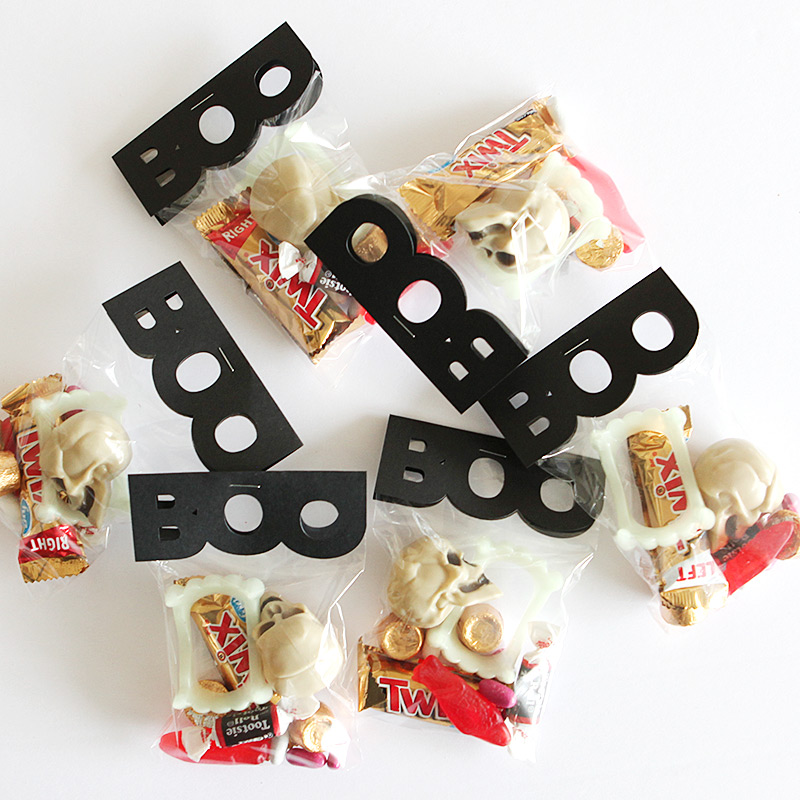
Halloween BOO treat bags, tags and cards
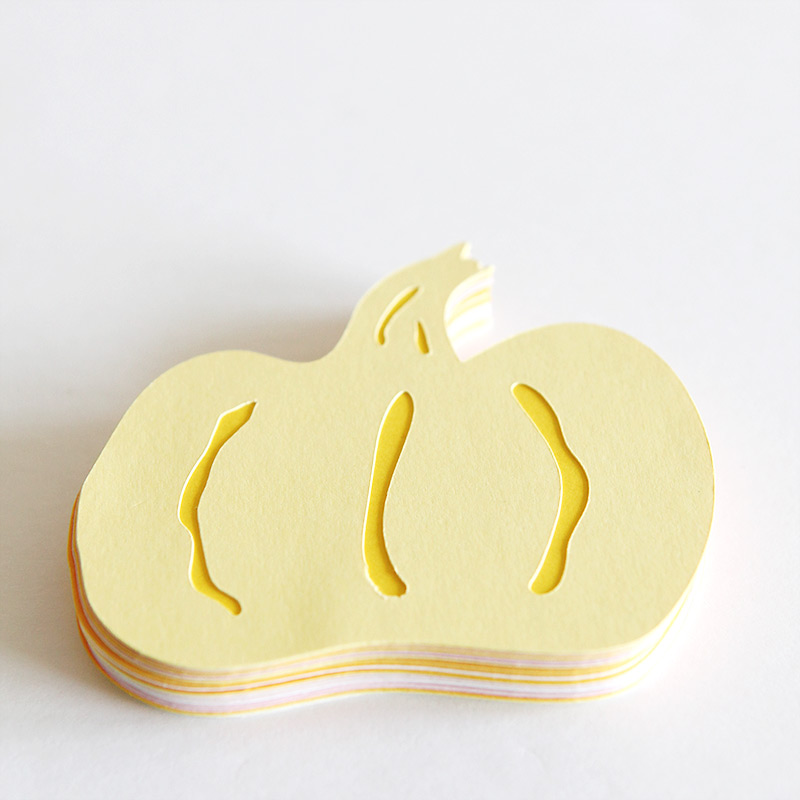
Pumpkin garland - Halloween decor
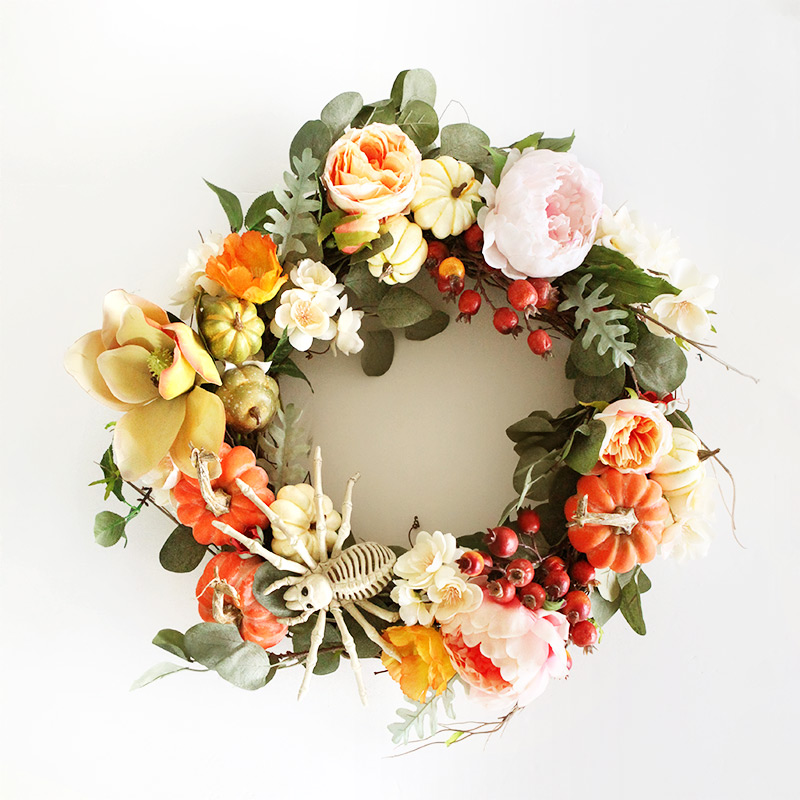
Hallween wreath in pink, peach and yellow - very easy to make.
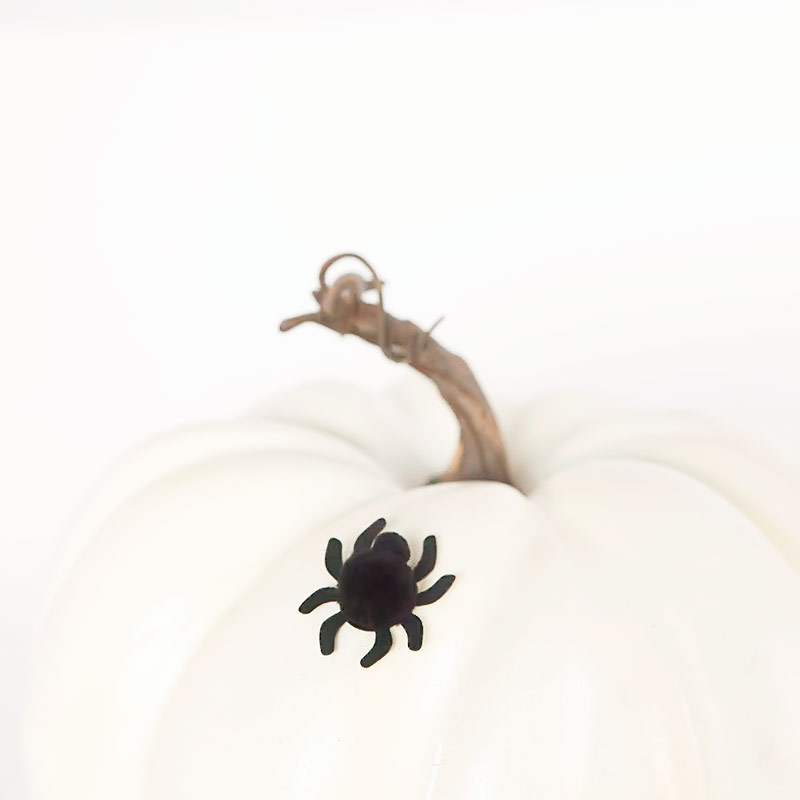
Halloween pom pom spiders
Visit the other sites too
Design
Food
Crafts
Get Crafts to Your Inbox
When you subscribe here, you will receive an email every time I post about a new craft. Definitely worth it.
Follow
Instagram
Pinterest
About A Home For Crafts
I love hand made. Home made. Crafting. Fiddling. Paper cuts - no, not that kind. But wait, there is
more
.
Home
About
Contact
A home for crafts © 2025 / All rights reserved
Home
Celebrate
Decor
Material
Seasons
About
Contact