Good luck move-in box
It's been a while since I posted last. Christmas to be exact. A lot has happened. Most important is that my family and I have moved from California to Washington. You can read more about that adventure here and here.
Since we have moved we have bought a new house. Usually when we move in somewhere new, we always make it a point to move in some salt, flour and money into one of the kitchen cabinets. For good luck. Sometimes we have had these things in zip locks bags, sometimes I have found a box of some sort for these items.
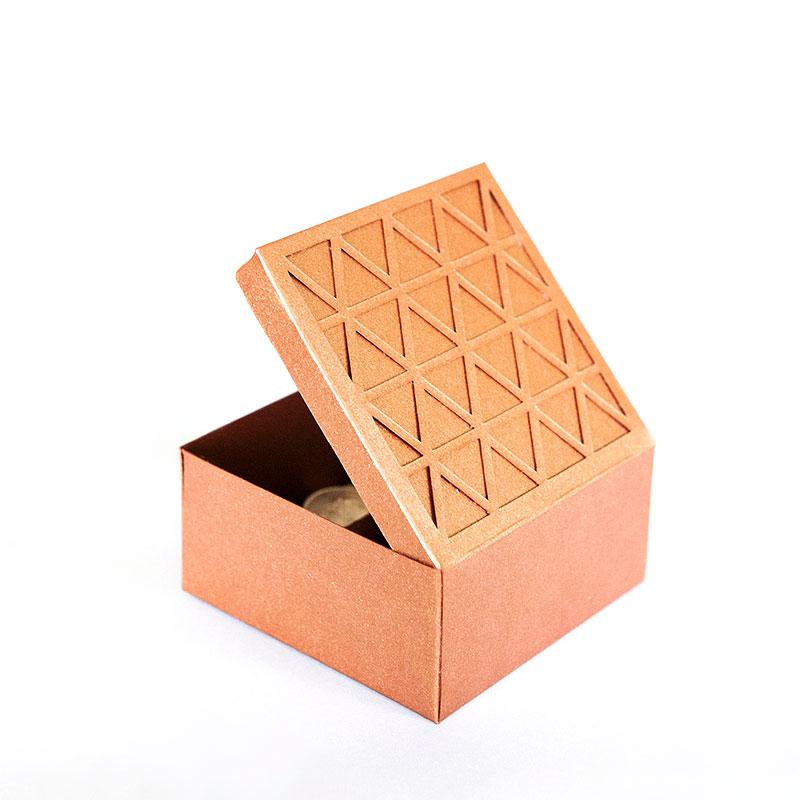
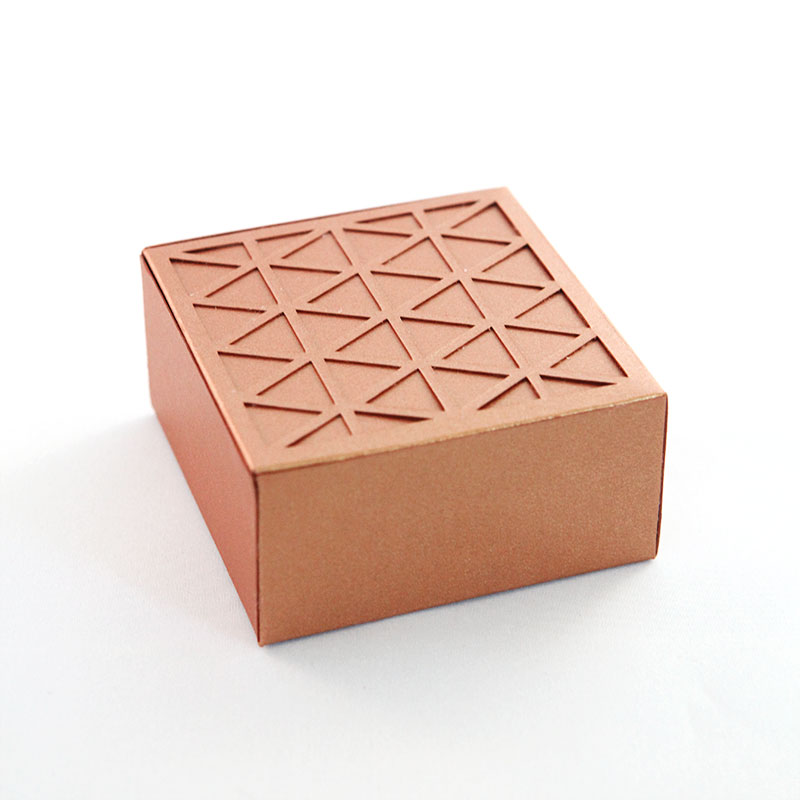
This time I had a bit of free time while we waited for escrow to close, so I made a custom box for our little Good Luck move-in box.
I made the pattern available for download at the bottom of the post if you want to make one too.
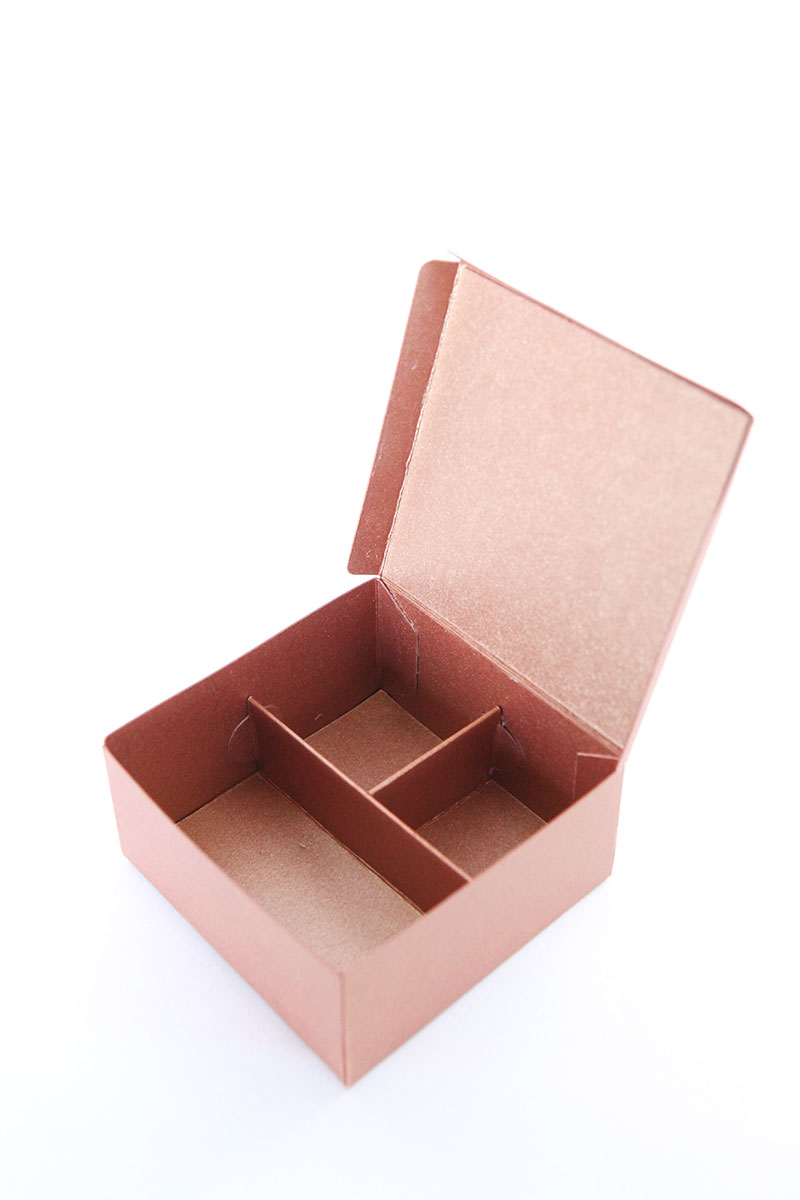
Of course you could also use this as a gift wrap for a small gift or a trinket box. You can customize it to have one, two or three compartments.
The pattern comes in two SVG files. One has the box itself, one has the box dividers and the backing for the lid. This latter part has score lines. Remember to turn the score lines from cut lines into to score lines and attach the score lines to their respective shapes. Here is a detailed explanation on working with score lines. Because there are more than one shape on that svg file, you need to un-group the layers before you can attach.
I used this copper cardstock. I set my Cricut to the dot between fabric and poster board as this cardstock is pretty thick.
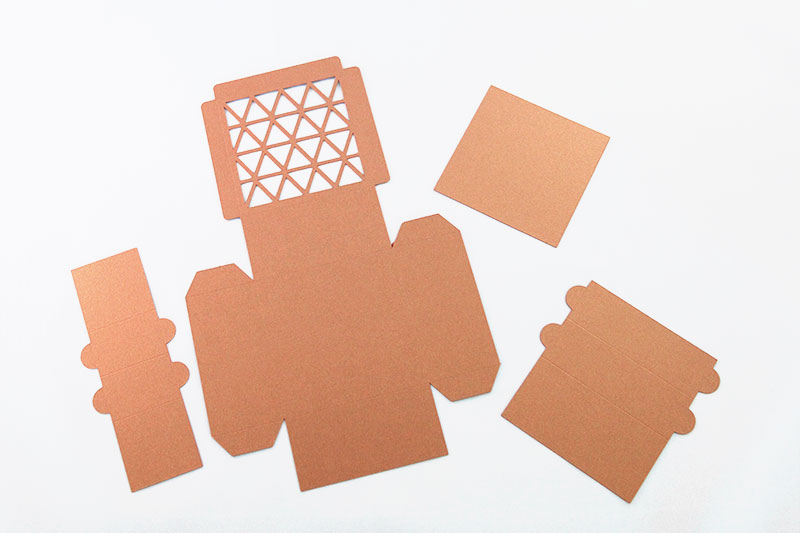
Fold along the fold lines. For the two shapes that make up the partitions, you have to fold some of the folds the wrong way (mountain fold). You can start by doing a valley fold and then fold it the other way after that.
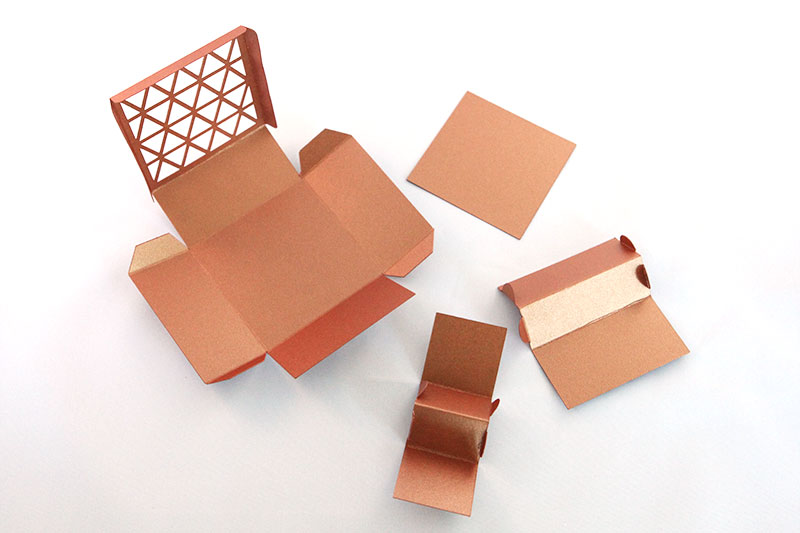
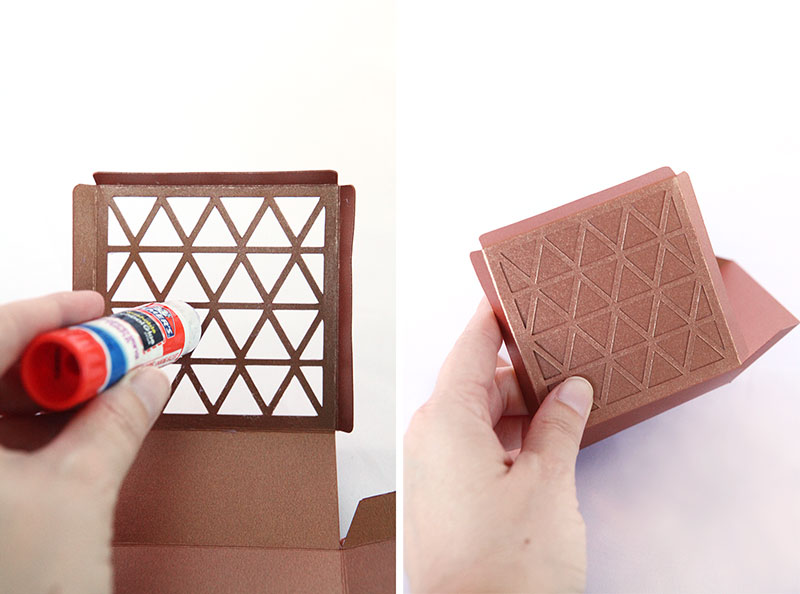
Very delicately apply clue to the inside of the geometric grid with a glue stick. Then press on the square lid backing. Spend a little time making sure it adheres everywhere.
Glue the partition walls together.
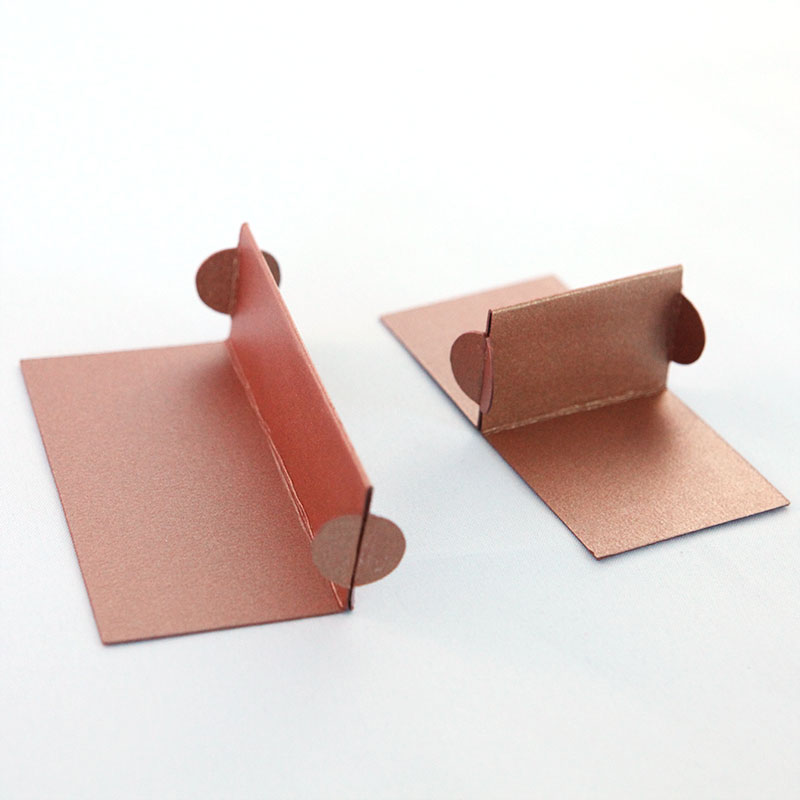
Next, glue the bottoms of the partitions as well as the half circle taps and insert them into the box. Hold and press down while the glue sets.
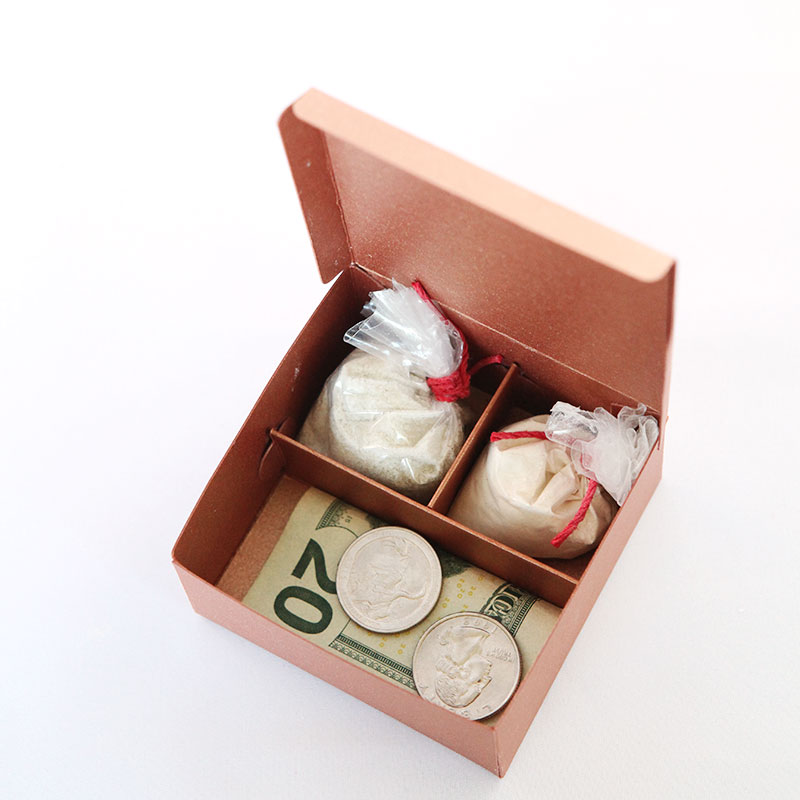
I used the corners of a ziplock bag to put sea salt (It must be a good quality salt - not table salt) and flour. I tied it with red string. I think red is a good color to use here just like when the Chinese tie their coins with red string or use red envelopes for their New Year money. I folded a dollar bill - any kind is good - in half and then in half again. This is what I sized the box for by the way. I added two quarters on top of that.
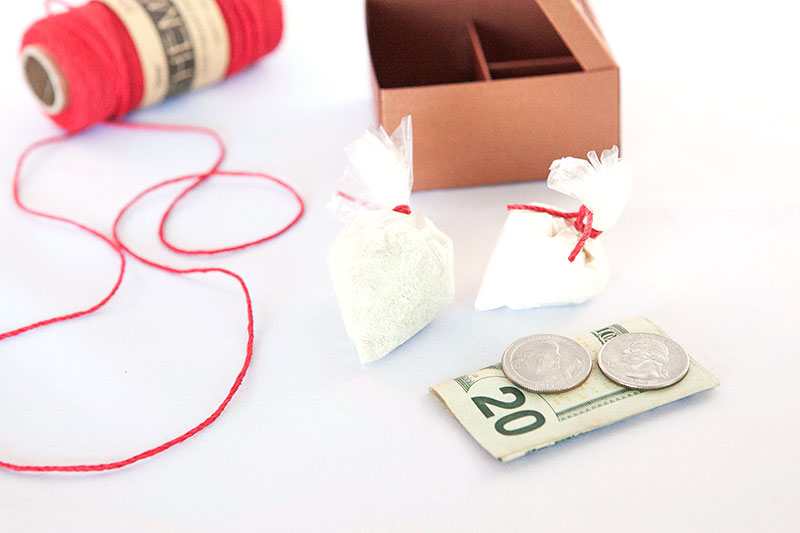
Can you believe Photoshop did not allow me to open some of the images I took? It recognized that there was money on the images and displayed a message saying their software did not allow for manipulation of currency. I think that is cool, but I was showing the bills like what you see here, folded and with coins on top. Some of the images slipped through the cracks too. I guess their detection system is not perfect. Anyway.
I put the good luck items into the box.
Then I closed it and put it in one of my kitchen cabinets. I made the lid close very snugly so that the box stays closed without the use of adhesive. If you use a different thickness of cardstock your experience may vary.
Download here for free - for personal use.
This is a free download for personal use. You may not sell this download or offer it on your site without my prior written permission.
If you have any suggestions for SVG projects you would like me to make in the future, please let me know in the comments.
If you liked this project, please consider pinning this:
Some blog posts contain affiliate links to products I use. More information
This article: Good luck move-in box first appeared on http://ahomeforcrafts.com.
Share

