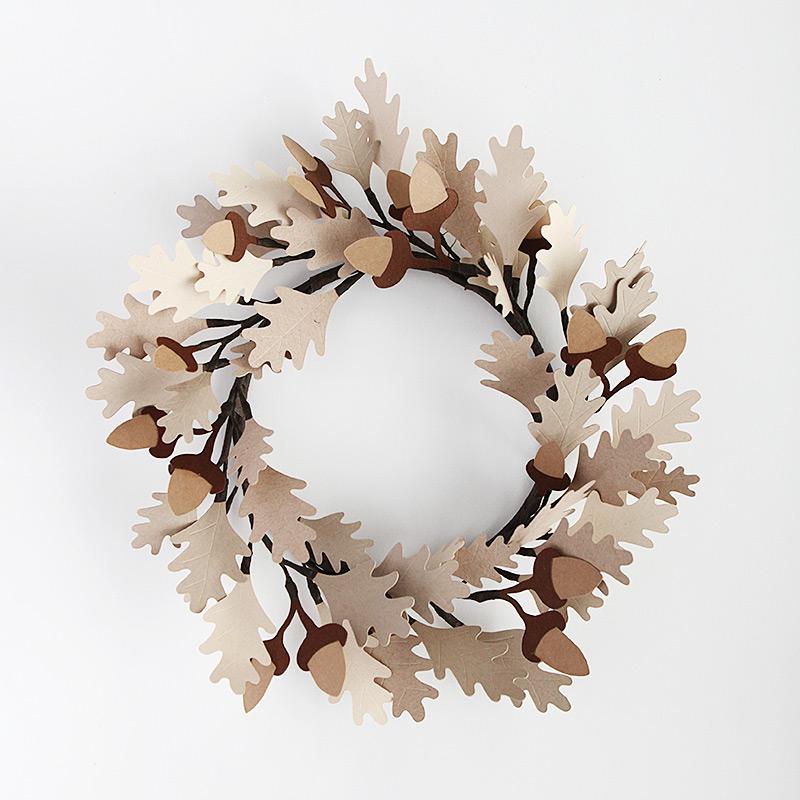
Acorn wreath
Sometimes the projects I make are super easy like these 5 minute wreaths. Sometimes they are much more involved.
Like this acorn wreath today.
But I love how it turned out and I can see myself putting this out year after year just like I am doing with this gold leaf wreath. Which also took quite a bit of time to make, not to mention 311 gold leaves.
Here is how I made this acorn wreath.
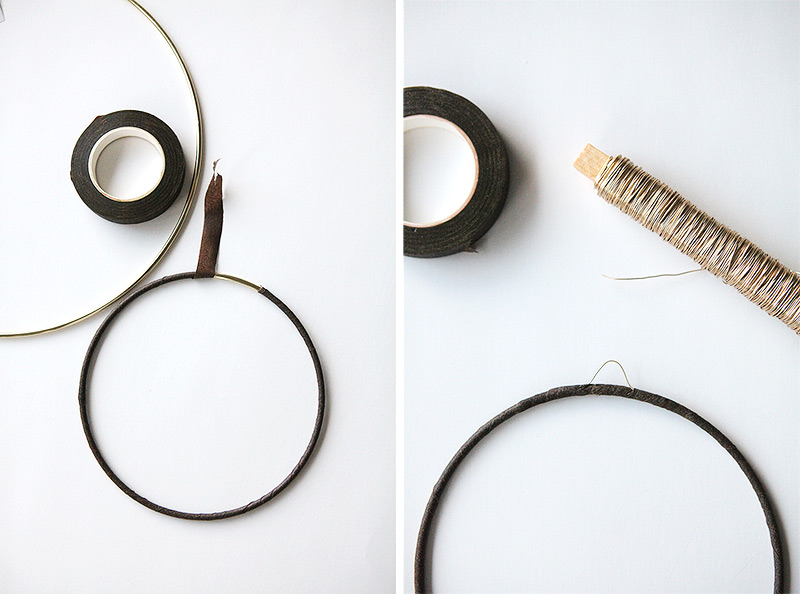
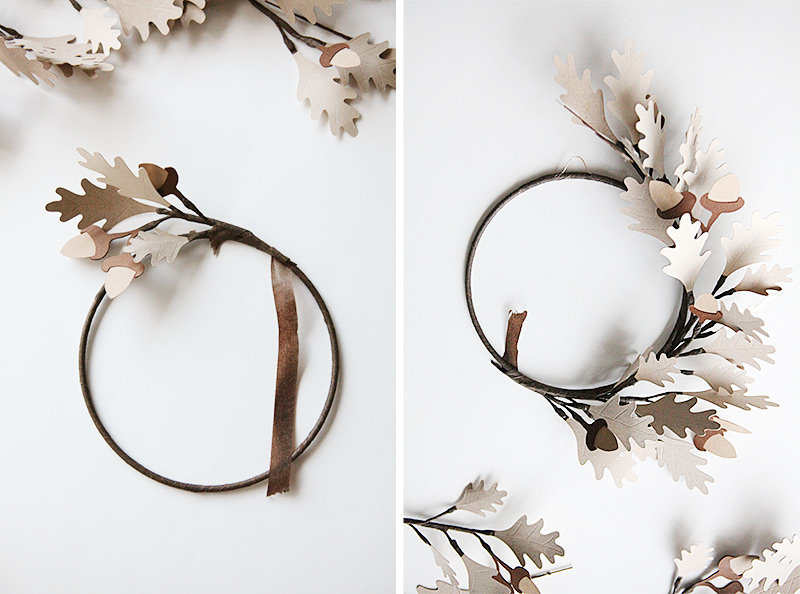
First I wrapped a metal ring with brown tape. I also twirled some gold wire around it with a loop in the middle, then secured it with more tape. This is to hang the finished wreath.
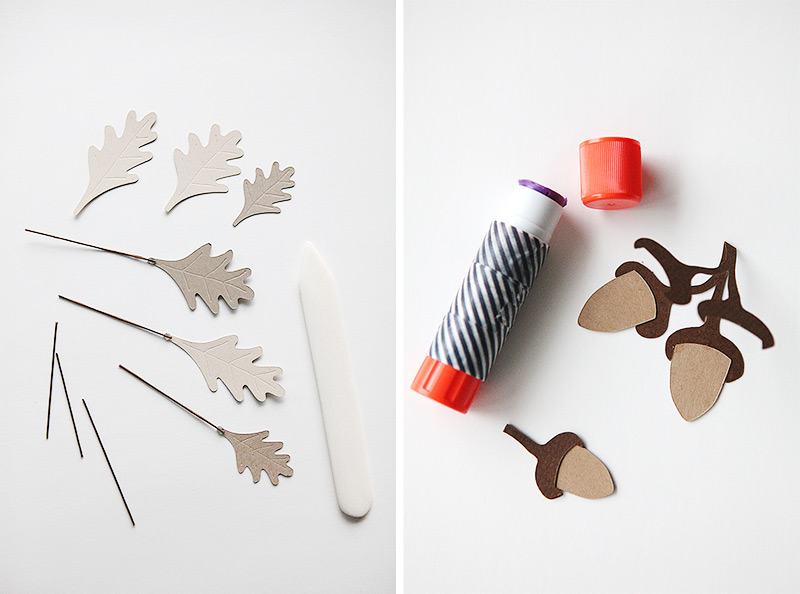
Then using the files you can download below, I cut out 6 sets of acorns (6 large double acorns and 6 small single acorns). Of the leaves, I cut out 6 of each size in three colors that were pretty close together; tan, kraft colored and beige. That comes out to 3 x 18 leaves or 54 in total.
I used a bone folder to make score marks in all the leaves to mimic leaf veins.
I used this floral wire and cut each piece into 6 pieces with wire cutters. I added some hot glue to the stem of each leaf and placed one end of the wire piece into it and let it dry/cool. I put the acorns together as shown below by folding over the "capsule" and gluing the "nut" in between the capsule halves. I also glued a piece of wire to each of the stems of those.
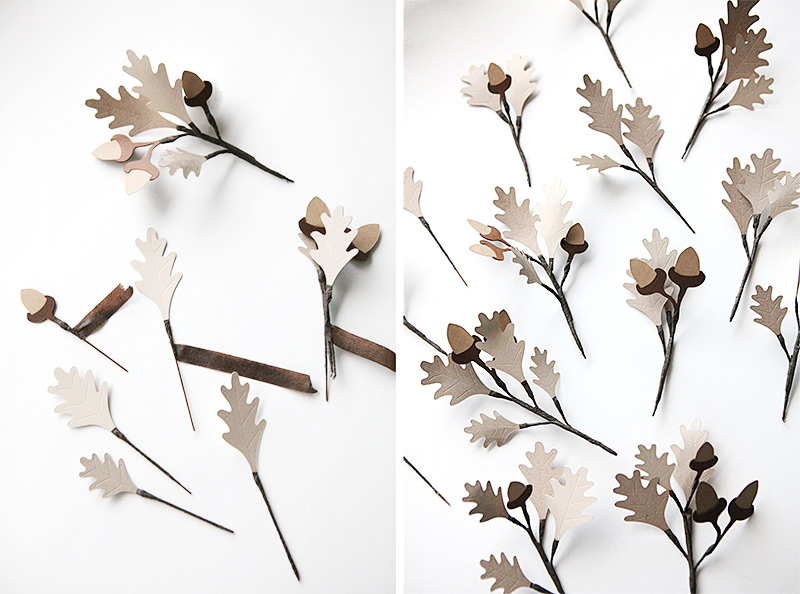
Then, using floral tape, I wrapped each stem starting near the top, wrapping up and over the glue dot and then back down to the bottom of the stem. Then I taped several of them together in different sets of clusters by staggering them slightly, some with only leaves as shown below. I made sure that all the leaves were attached so that the veining pointed outwards.
I then opened up the clusters by bending the wires until I achieved a more natural look. At this point you could stop and use these as gift toppers too. Maybe with my oak leaf gift wrap?
After I had all the clusters made, I attached them to the wreath. The first one I only wrapped at the very bottom of the stem so that when I came back around I could still insert my last piece and then finish the taping so there was no obvious beginning or end to the wreath.
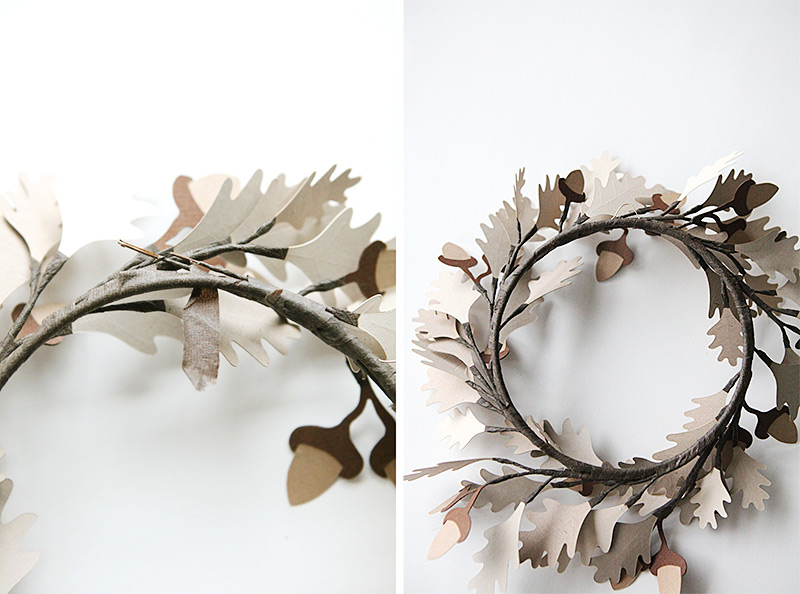
I made sure to space out the branches with acorns evenly around the wreath for a more uniform look.
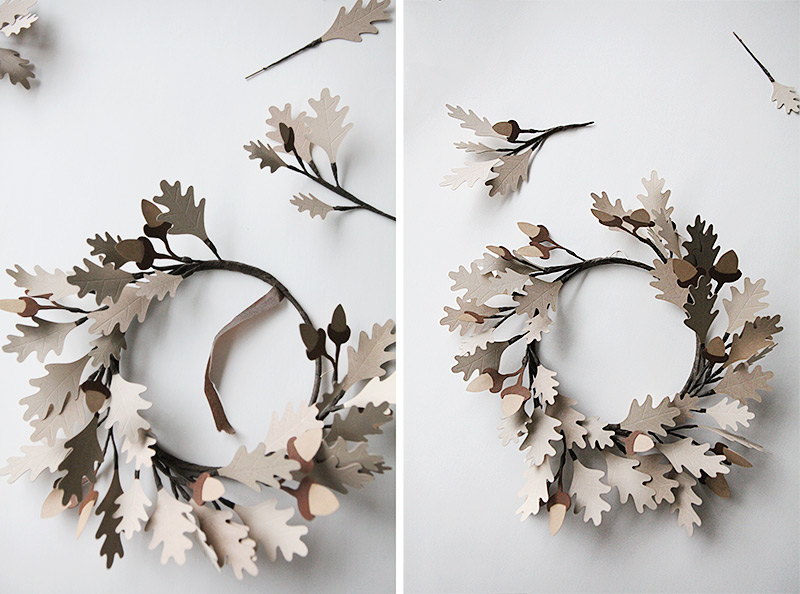
For the last branch I turned the wreath around and was careful not to bend the leaves on the front. Then I wove the tape in and out until the last stem was secure and completely wrapped to the wreath.
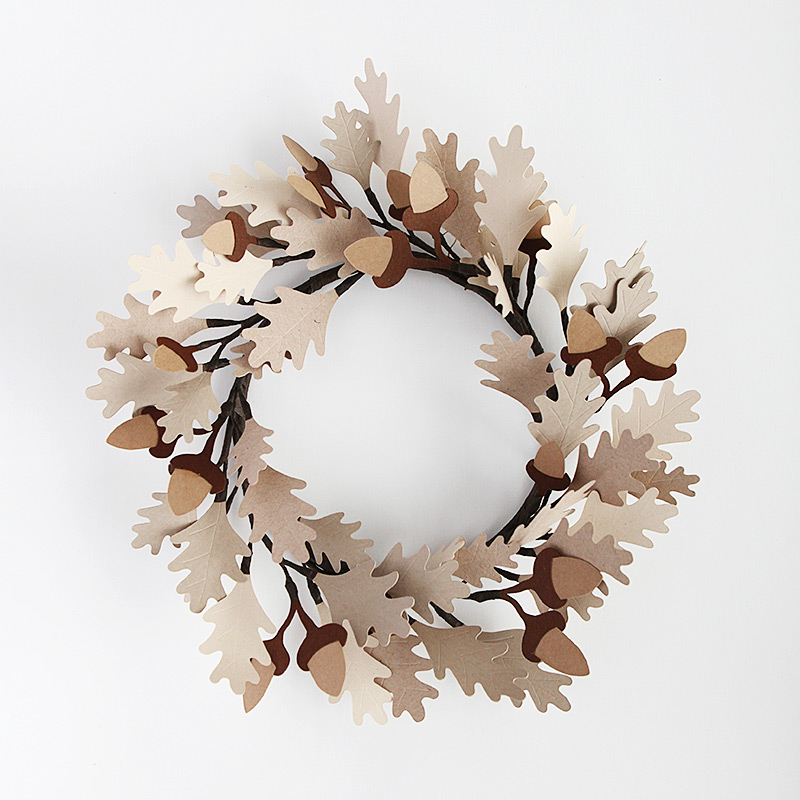
That's it. Here is the wreath. It is getting all the heart eyes from me!
Here is the list of resources:
Cardstock:
You also need one dark brown piece of cardstock and a light brown one for the acorns and then three pieces of cardstock that are tan, kraft colored and beige. I got those at Michael's so I could compare the colors in person and see that they looked good together.
Download here for free - for personal use.
This is a free download for personal use. You may not sell this download or offer it on your site without my prior written permission.
Some SVG files in this download have score lines. Here is a tutorial for how to handle score lines in SVGs.
If you have any suggestions for SVG projects you would like me to make in the future, please let me know in the comments.
Some blog posts contain affiliate links to products I use. More information
This article: Acorn wreath first appeared on http://ahomeforcrafts.com.
Share

I am a Danish American decorating life in Seattle. I love all things design and I am especially passionate about color, scale and texture.
I can’t think of anything more fun than coming up with a new project, making it, photographing it and sharing it with you on my websites.
AHomeForCeramics.com AHomeForDesign.com AHomeForFood.com AHomeForCrafts.com My Portfolio