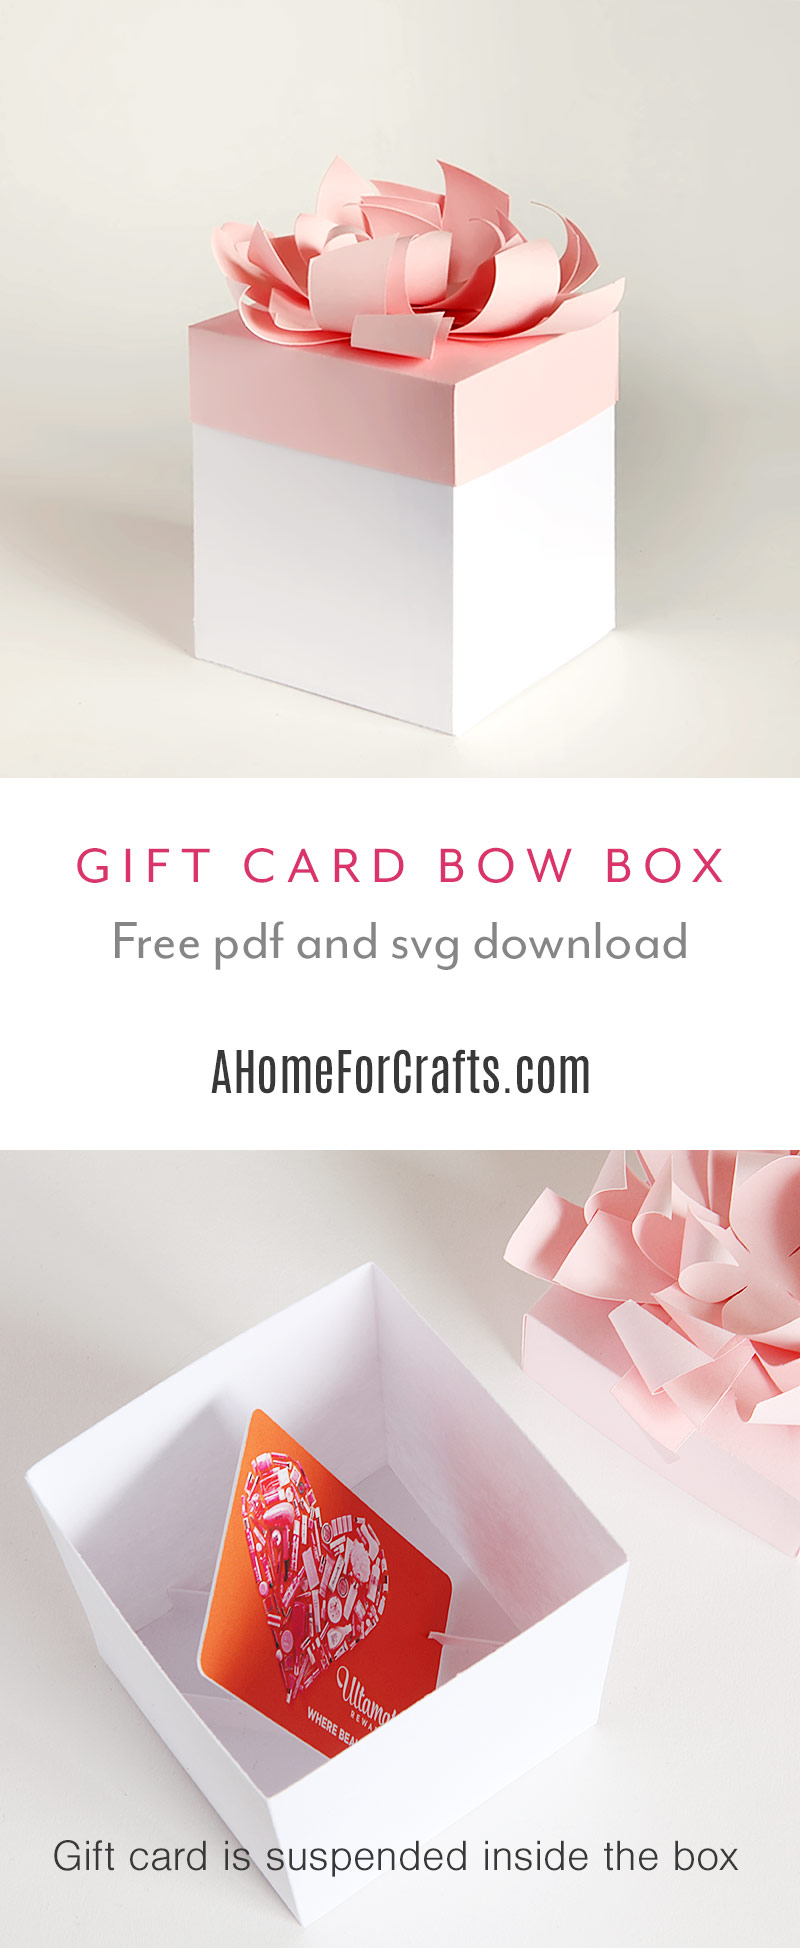
Gift card gift box with bow
Giving a gift card can be such a flat experience. Those small gift card envelopes don’t look like much, do they?
I want to share how to make a sweet little gift box that perfectly fits a gift card inside, suspended in midair it seems all due to some magic cardstock wizardry.
A bit heavy on the hyperbole, but don’t you kinda want to see how to do that?
Here is how.
Decide what color the box, lid and bow should be and cut them out of cardstock. I made the boxes one color and the lid/bow another color. You can download the files below both as SVG and PDF.
Some of the files have score lines, so be sure to check out this tutorial on how to set those files up and insert the score pen into your Cricut before cutting. The score lines go on the inside of the fold and therefore the pretty side of the paper should be put face down onto the mat.
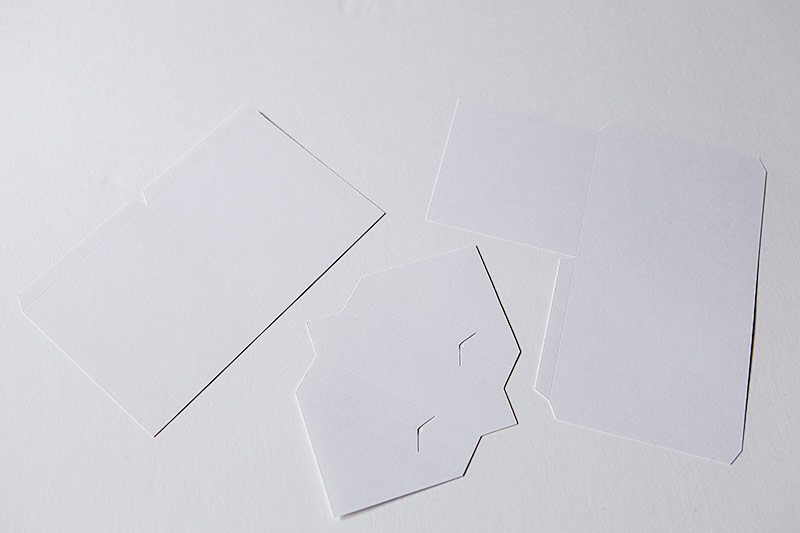
Fold along the score lines. The score lines should go on the inside of the fold.
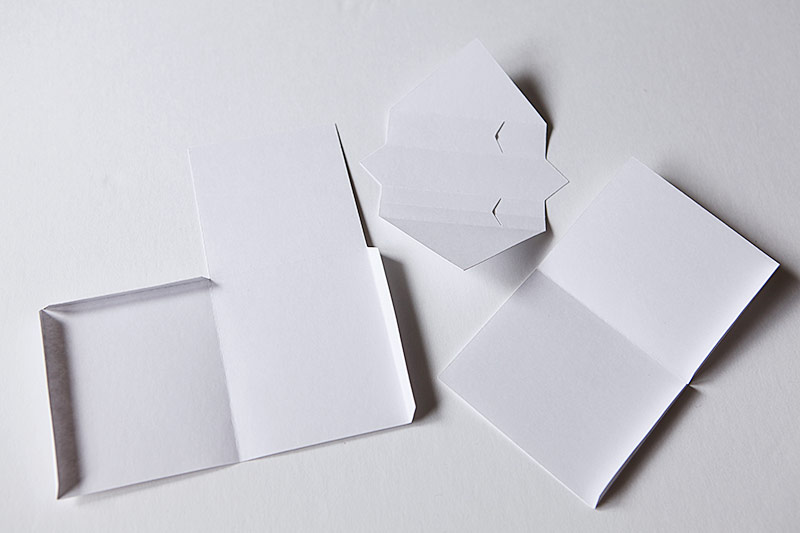
Glue all flaps and assemble the box.
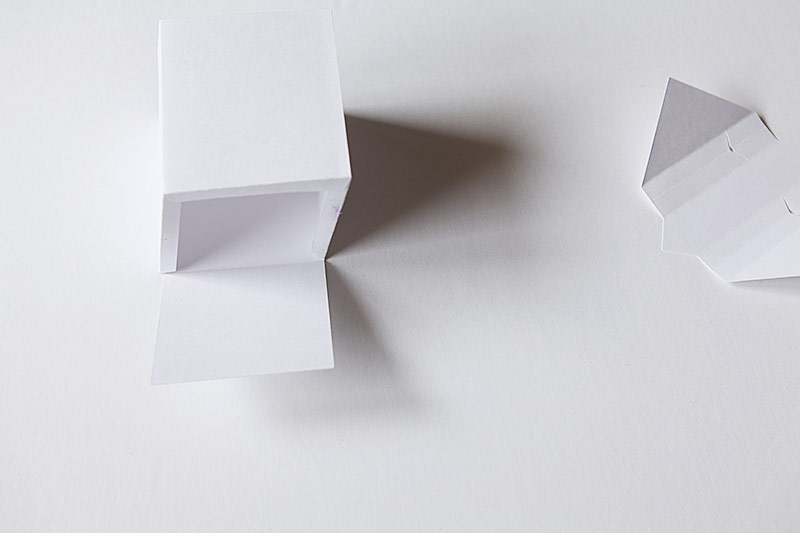
The center of both sets of three score lines has to be folded the opposite way, so first fold the way you normally would, then fold the two center lines the opposite way. It should look like the picture below. Then on the back put glue between the two sets of score lines. Pinch the folds while the glue sets up.
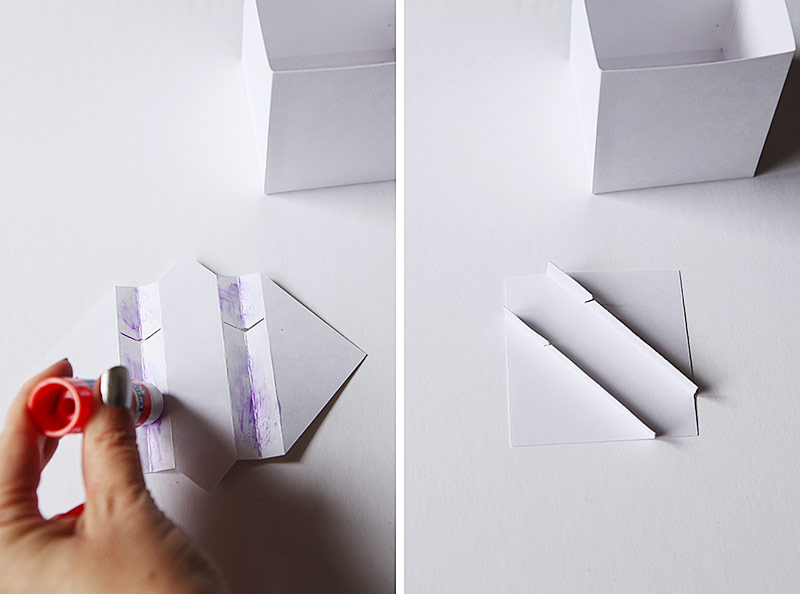
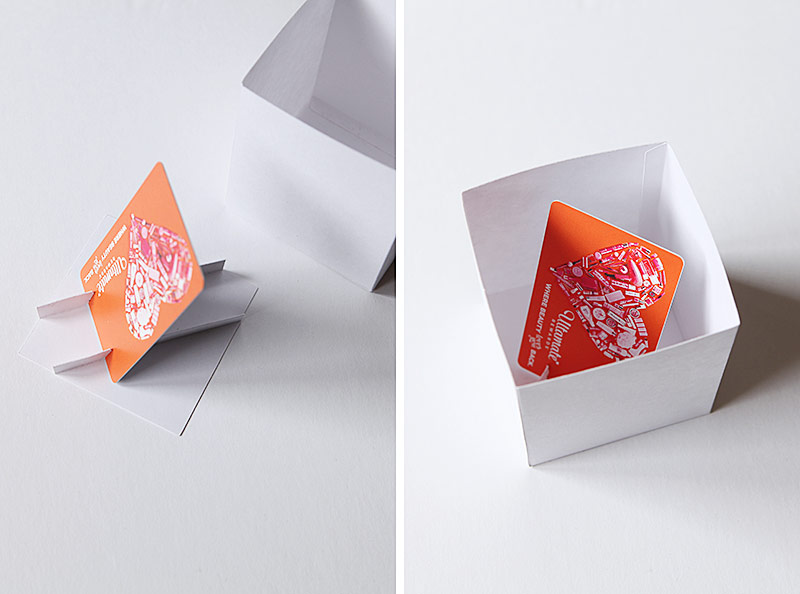
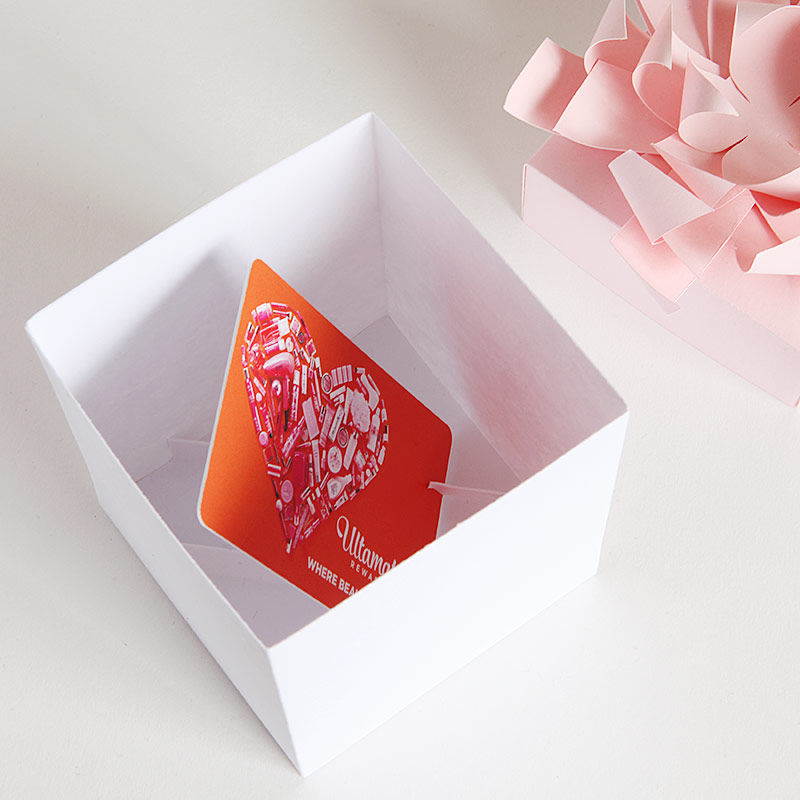
Now you can test out inserting your gift card or wad of cash or whatever you are going to put in there. Then glue the insert into the bottom of the box so it doesn't come flying out when the recipient tears out your gift card with excitement. If you insert the gift card after you put in the insert, be prepared to do some finagling depending on the stiffness of your cardstock. I made the slits tight so the card doesn't fall out.
Next cut out the lid and the bow pieces in your preferred color. I think it looks really great with the bow and lid in the same color, but hey, be adventurous.
Fold the lid along the score lines.
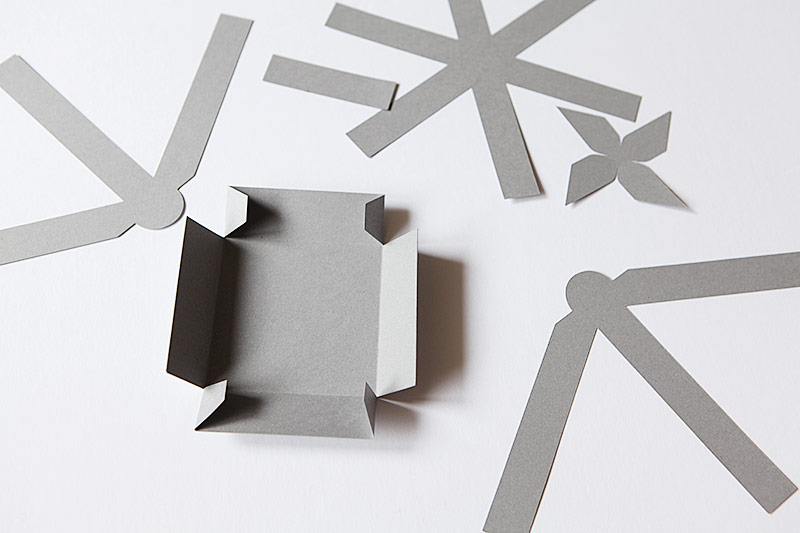
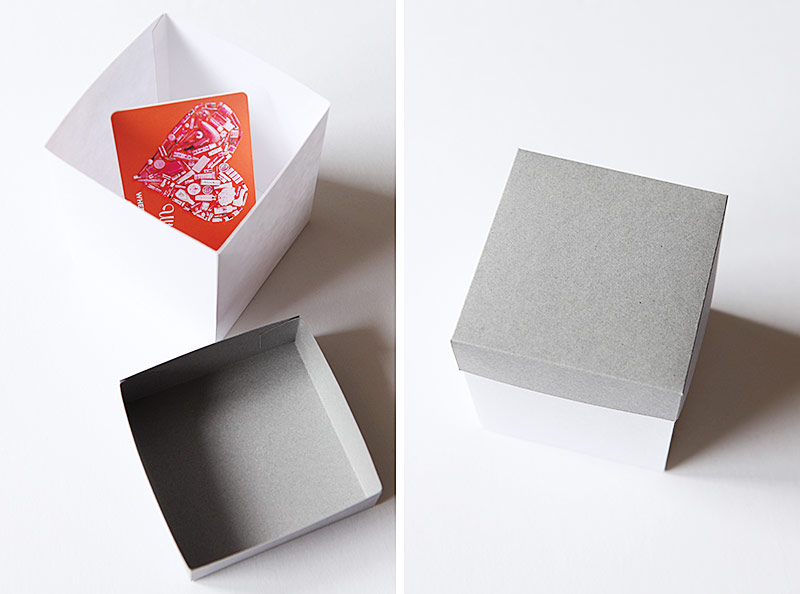
Then glue the flaps and make the lid. Check that it fits. It should fit if you didn't change the size of the box.
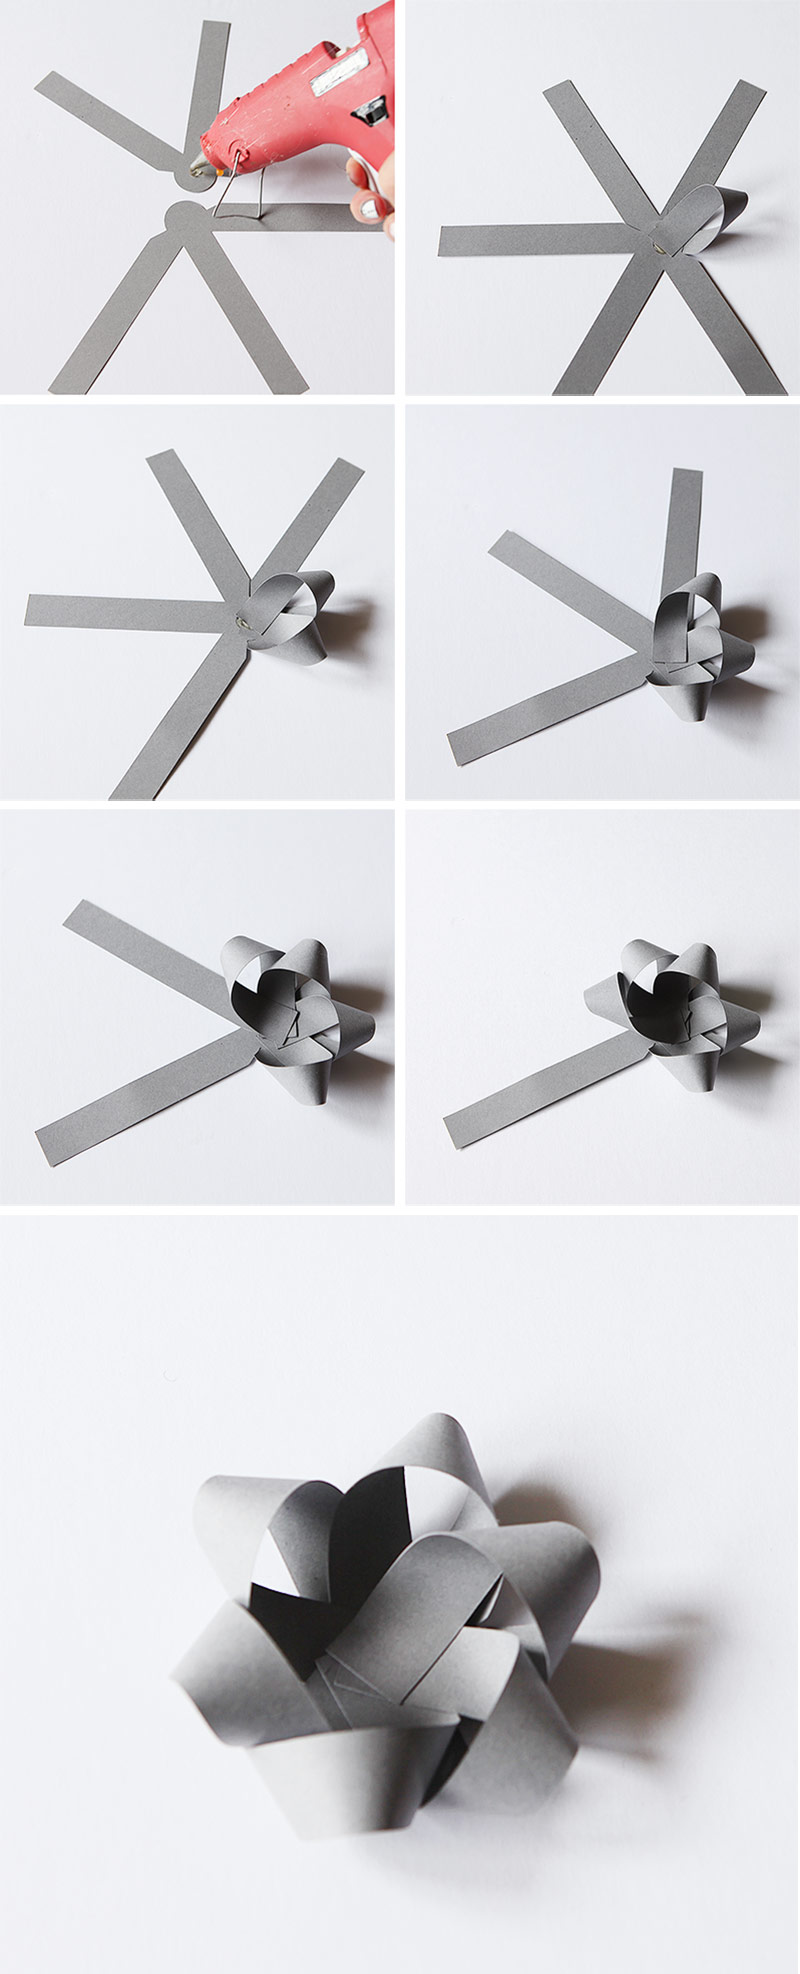
On to the bow. The bow consists of an outer bow, an inner bow and a center. In the SVG version I made the outer bow in a version that can be cut out of one piece of 12 x 12 inch paper, and there is also a version where you can cut out the outer bow in two pieces on 8.5 x 11. Below I am showing the version where I cut out the outer bow of two pieces and glued them together.
I used glue stick for the box and lid, but there is so much tension in the bow that hot glue works much better for that.
Turn each strip back and around and glue the end to the center as seen below. Repeat, repeat, repeat...
Do the same with the inner bow. Also curl up the center piece for the uncut bow into a circle and glue as seen below.
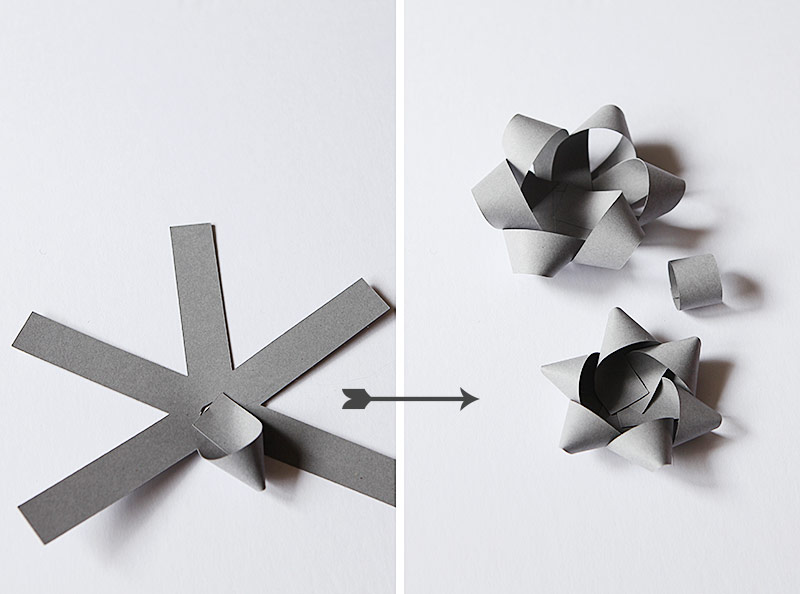
Stack and glue the three pieces to complete the bow.
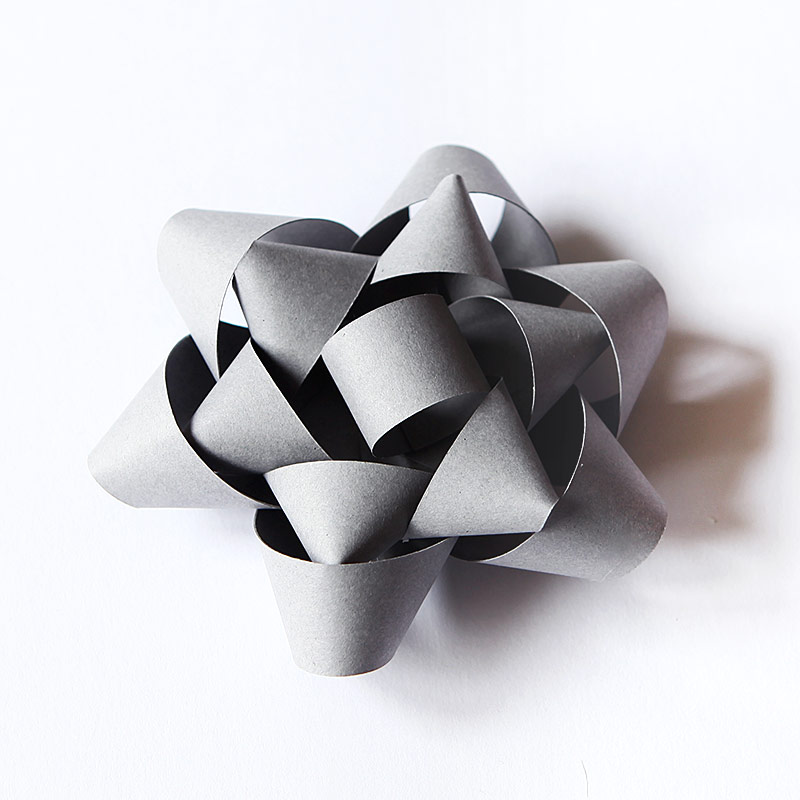
Then glue it onto the lid. This is the more traditional bow. Next up I am also including a center for a cut bow that you see below on the right.
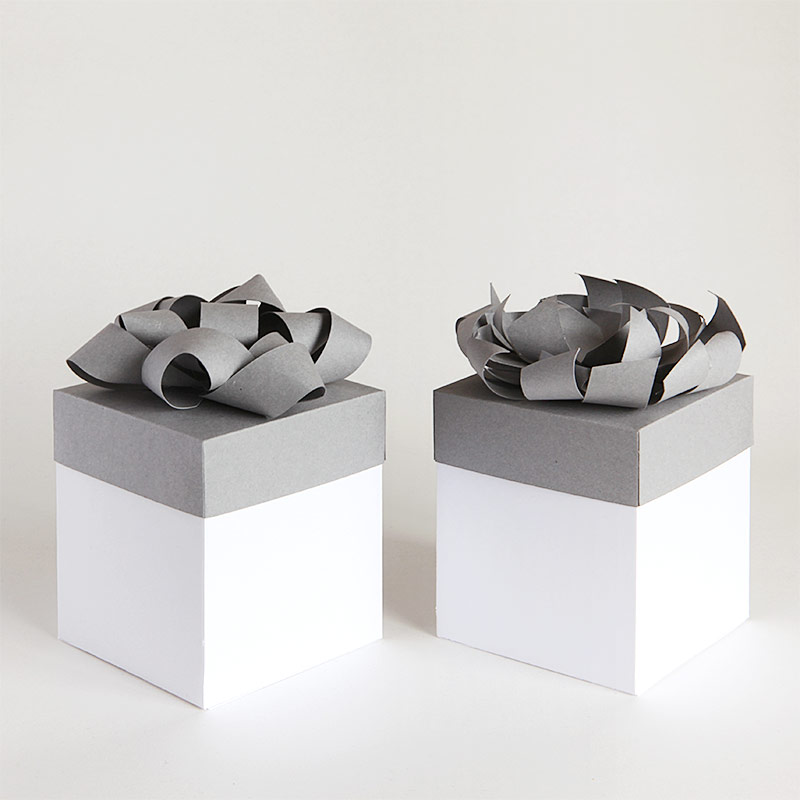
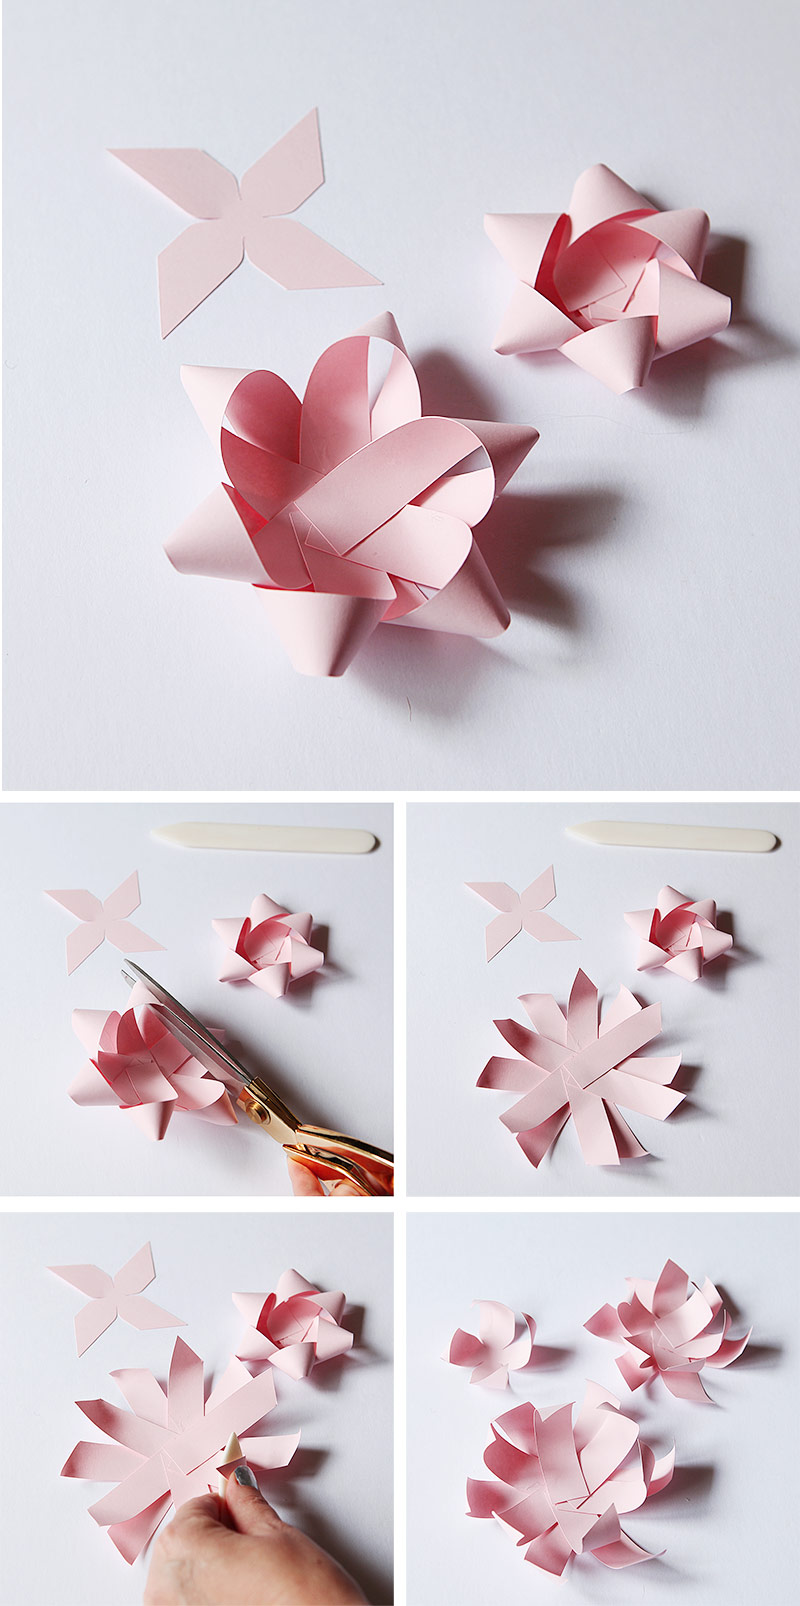
Here is how to make the cut version of the bow. Instead of using the little strip of paper for the center, instead use the little pin wheel shaped center. Fold the inner and outer bow like before.
Then cut each bow with scissors at an angle about in the center of each strip as seen below.
Curl each paper strip around a bone folder like you would with gift ribbon to make it more curly.
Curl the center piece too. Then stack them with glue.
Glue the bow onto the lid and you should have something like this.
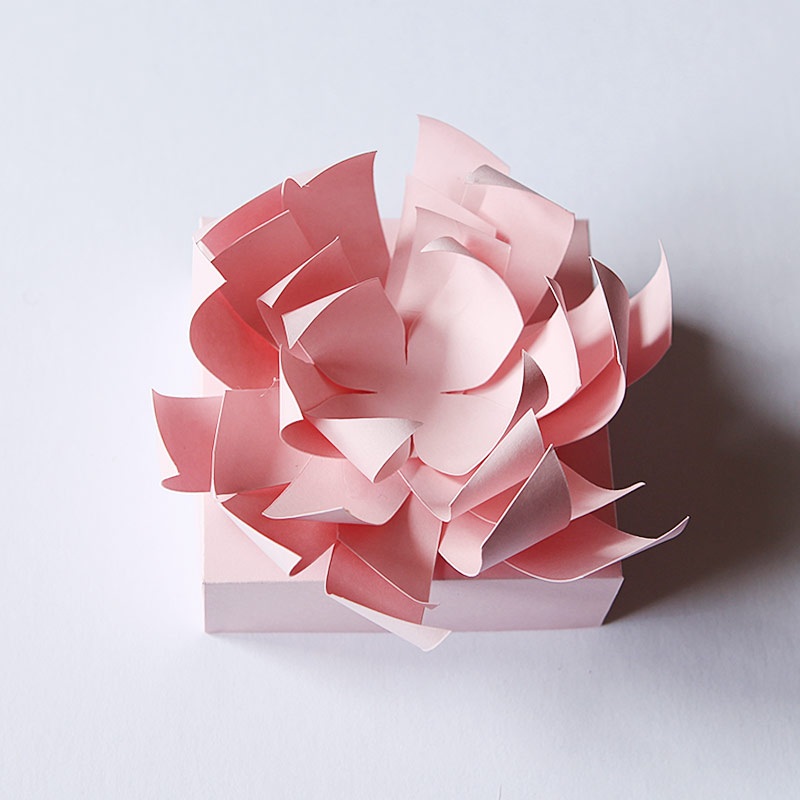
So pretty, right? This completes the box.
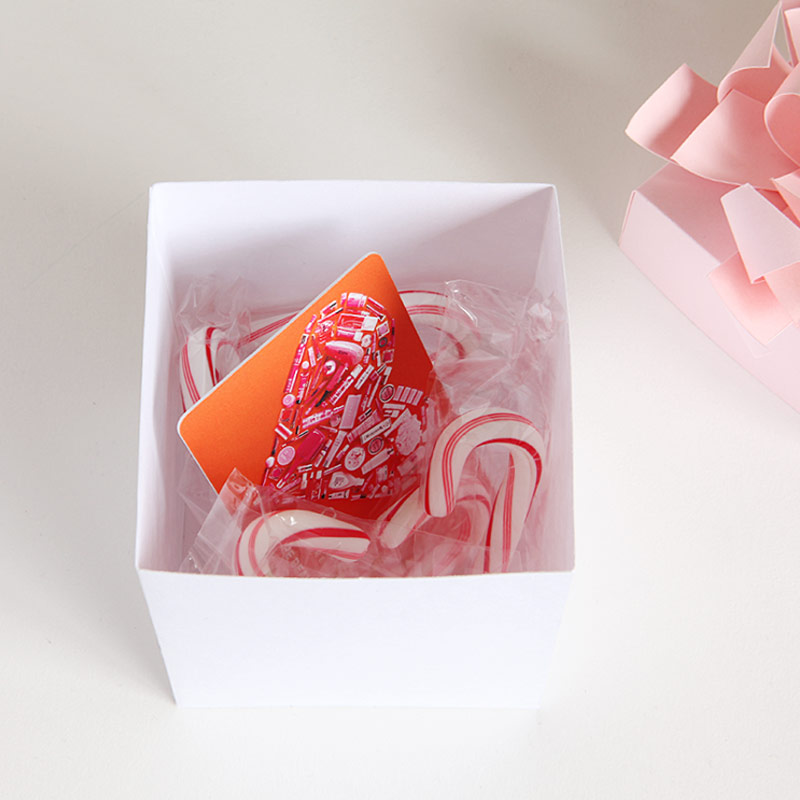
I put some candy in the bottom. That makes the box a little heavier so it doesn't feel empty. And who doesn't like candy.
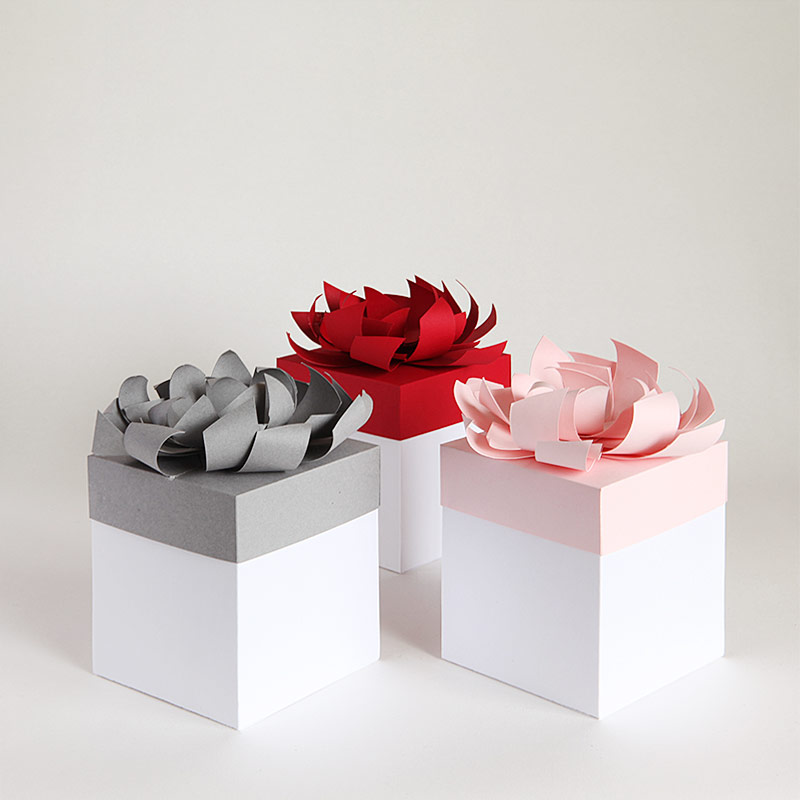
Next it is on to serial production. Here I made both a gray, red and pink version of the box.
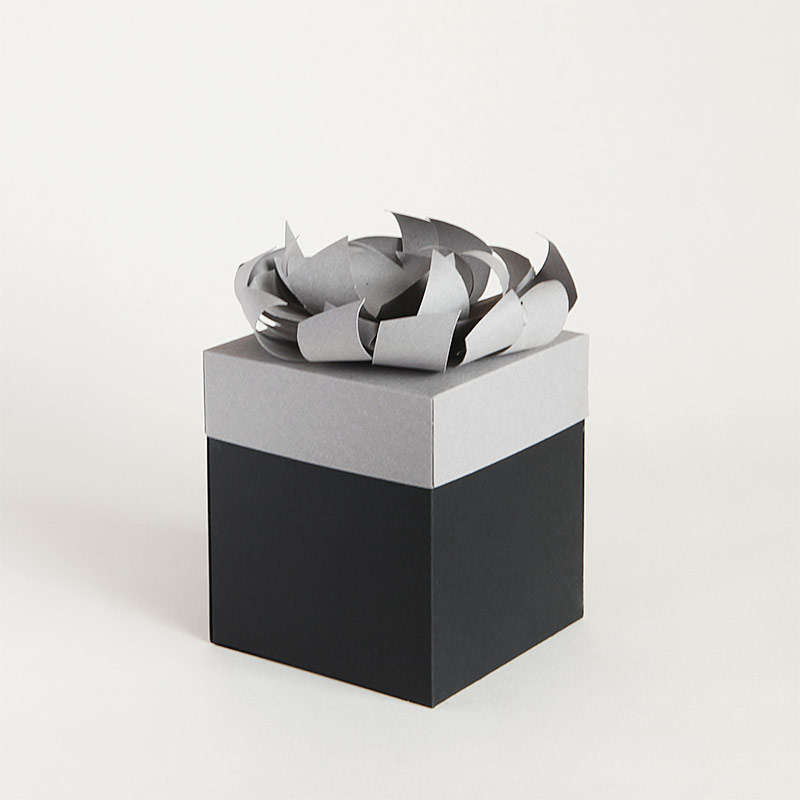
I also made a version with a black box with a gray top. It would also look really great with a gold box with a black lid I think.
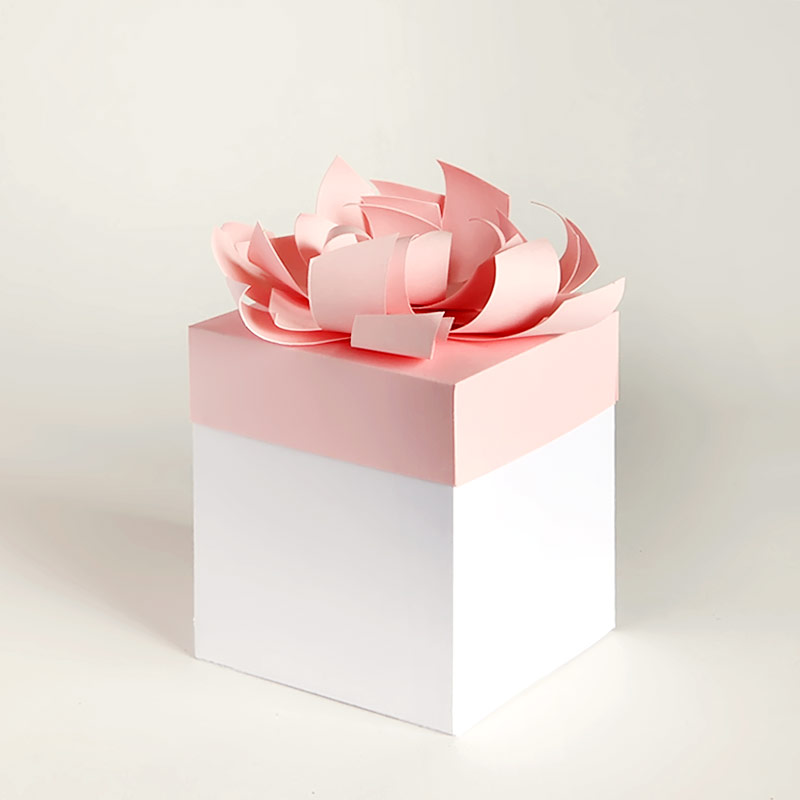
This pink one is my favorite.
Download here for free - for personal use.
This is a free download for personal use. You may not sell this download or offer it on your site without my prior written permission.
Some SVG files in this download have score lines. Here is a tutorial for how to handle score lines in SVGs.
If you have any suggestions for SVG projects you would like me to make in the future, please let me know in the comments.
If you liked this download, please pin this:
