A felt tree Christmas forest
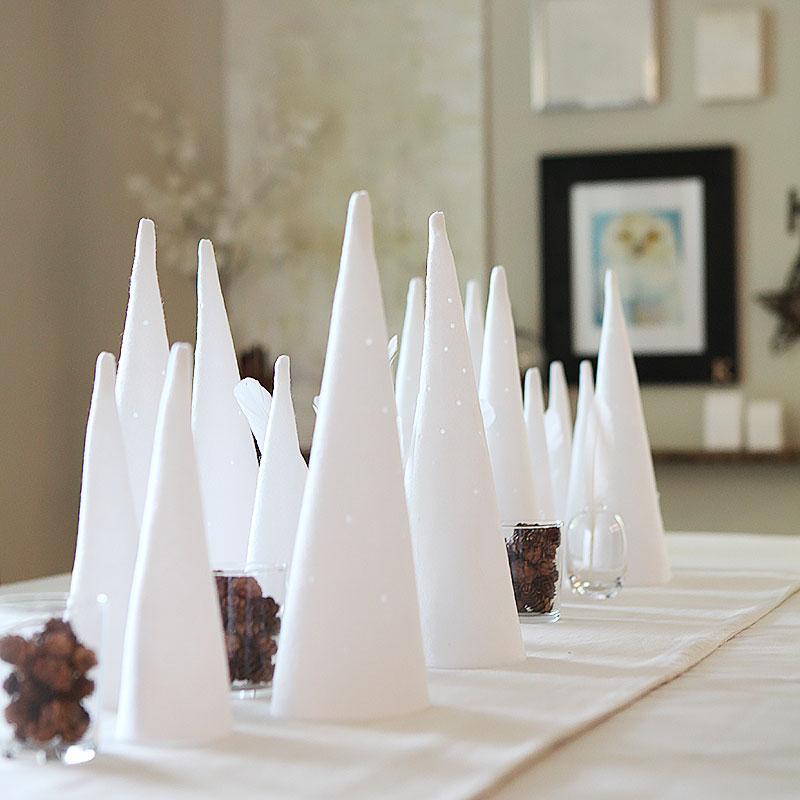
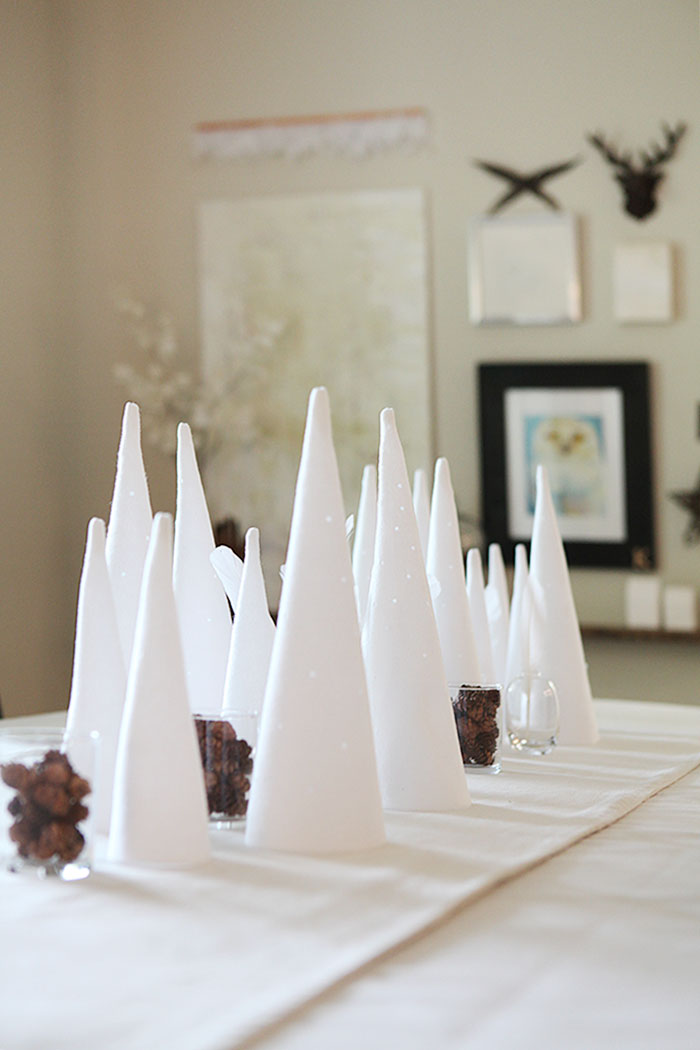
There are many reasons this project is a favorite Christmas project of mine. It is easy and inexpensive to make. It makes a great impact. It is easy to store between holidays and of course... it is felt. I just love felt!
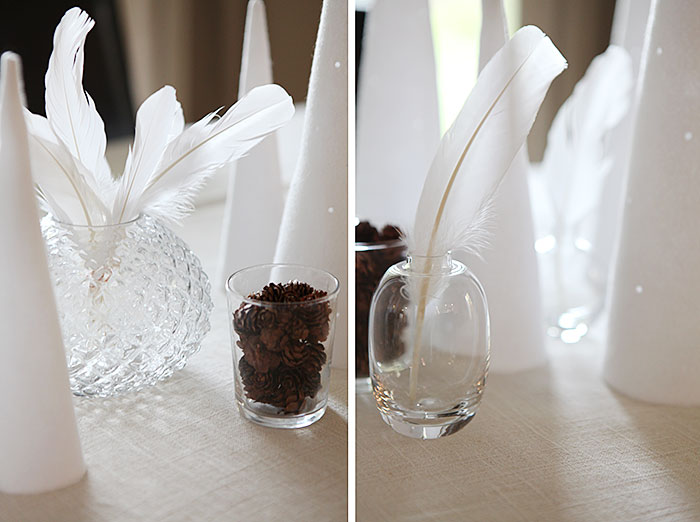
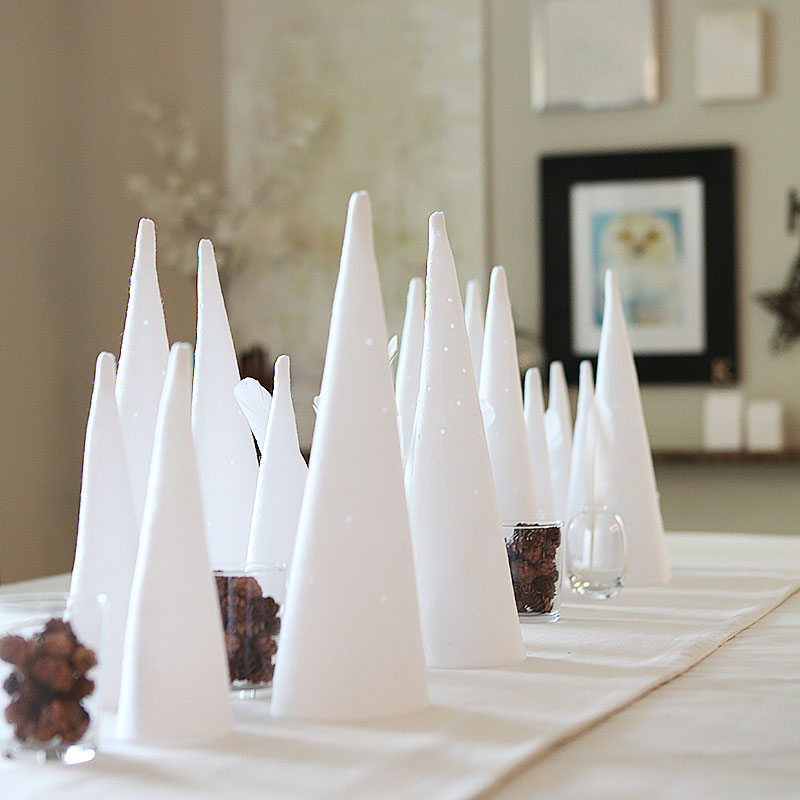
I paired the felt trees with small glass vases, some feathers and pine cones for a natural look and feel.
I made 8 large and 8 small trees. The larger ones are 13 inches tall and the small ones are 9 inches tall.
To make the cones, I cut a pattern out of craft paper that is an 1/8th of a circle with an added 1/4 inch seam allowance on both sides.
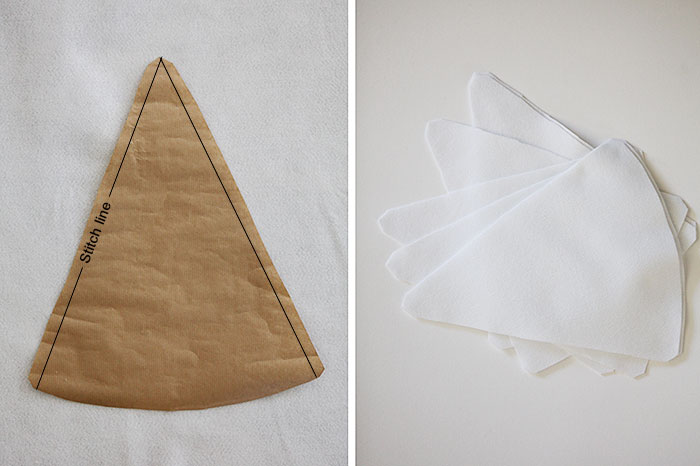
I made the bottom a circular shape by folding my pattern in fourths, then making a cut mark at the edge. Unfolded to a half fold and cut from mark to mark in a circular path.
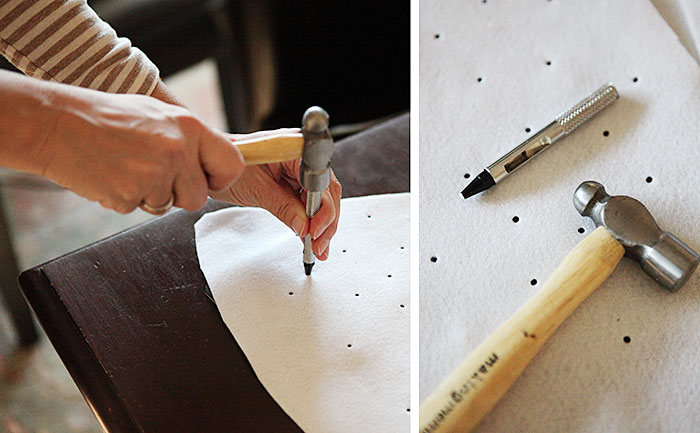
I cut my shapes out of white felt. Before I sewed the large cones up, I punched holes in them with my Making Memories hammer and hole puncher. Just randomly.
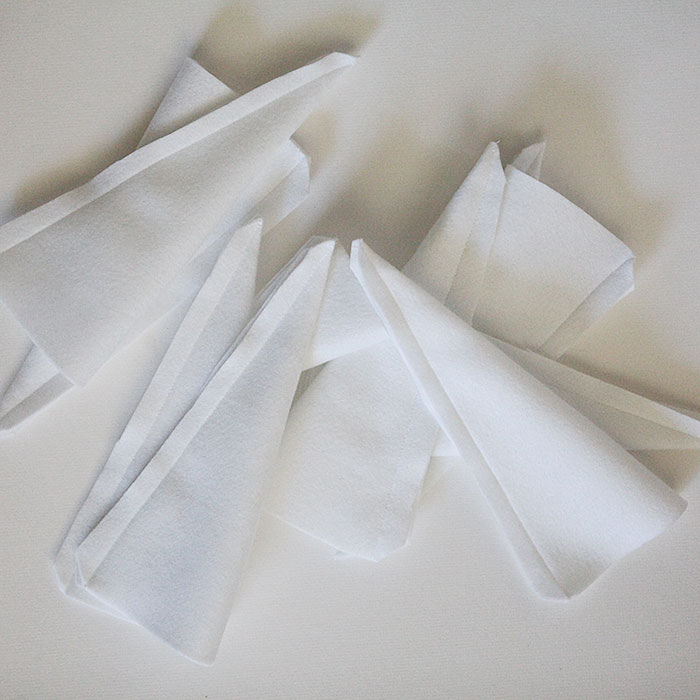
The smaller triangles I just sewed together without making any holes in them.
I found it was best to start from the bottom of the trees so that those edges line up. The top is more forgiving.
I used a chop stick to turn the trees inside out to get the pointy tip - - - pointy.
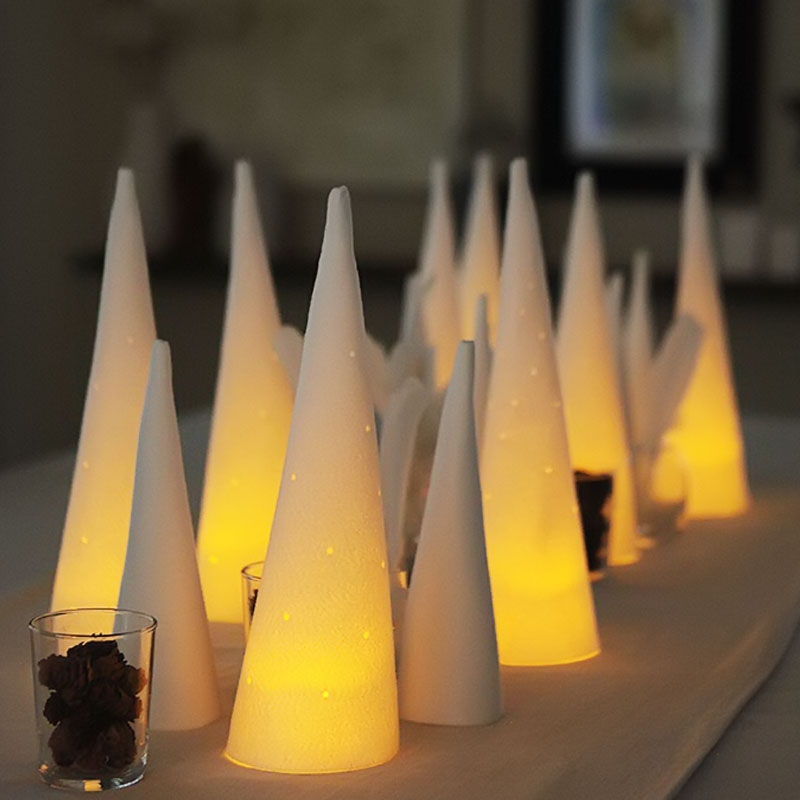
Now the real trick of my little village is that I put LED battery powered tea light under the eight large cones. Come dark, I can turn them on and get a really fun light-house effect.
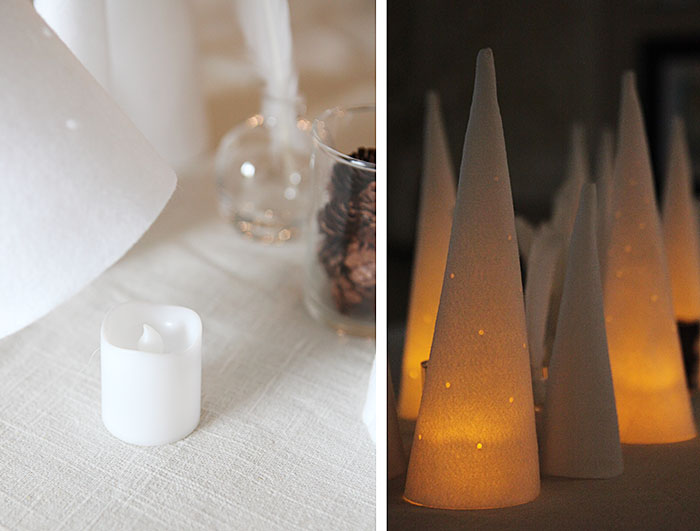
I love the glow.
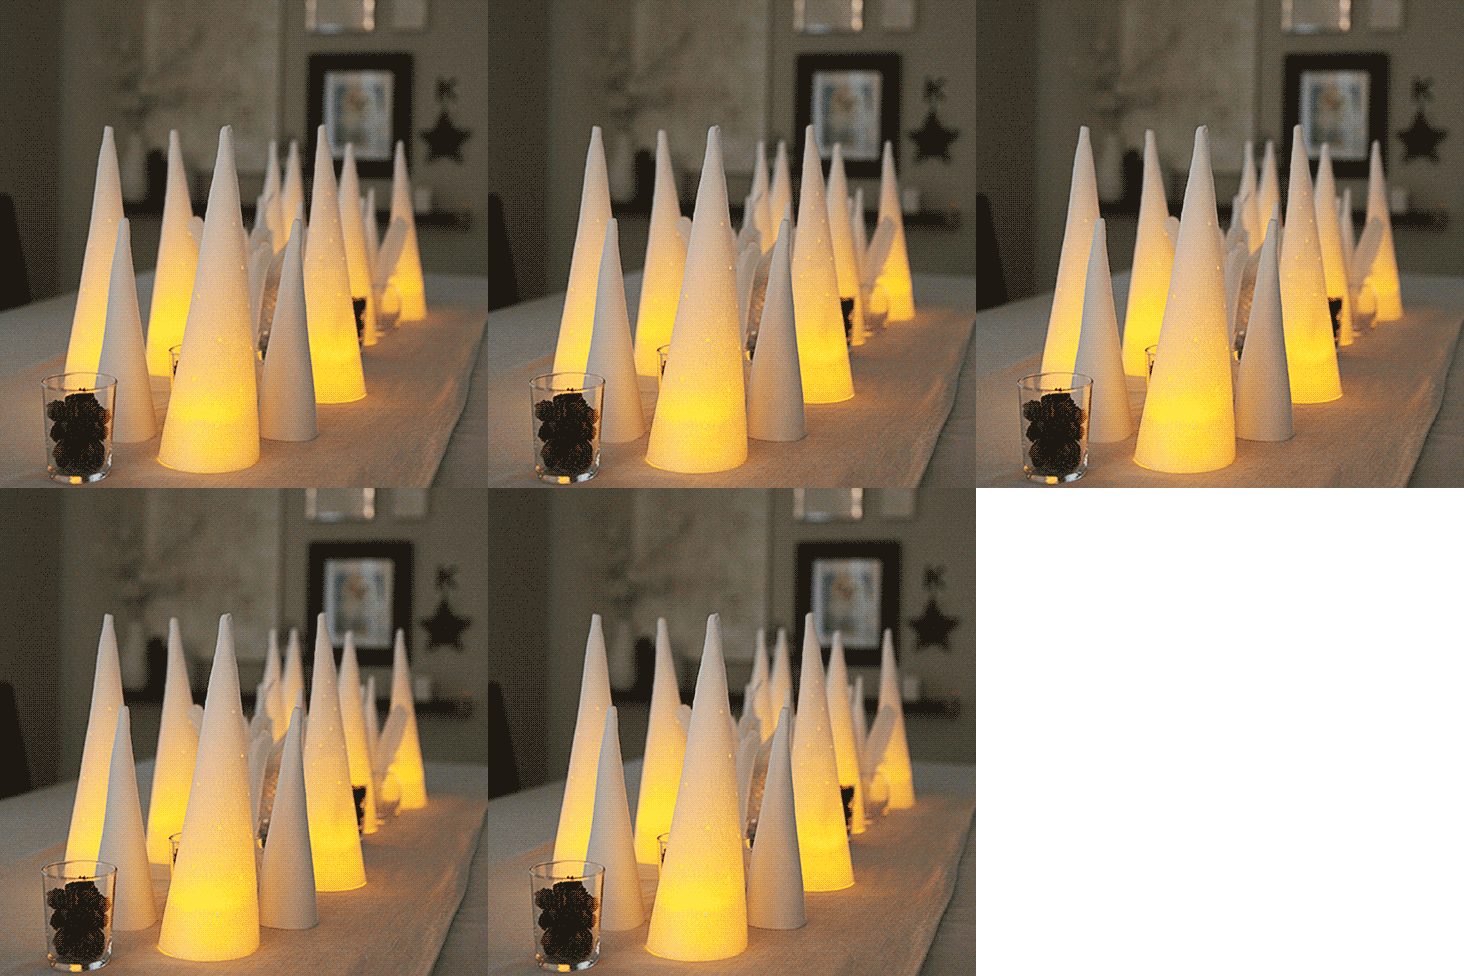
Here is a gif to illustrate the flicker effect.
Some blog posts contain affiliate links to products I use. More information
This article: A felt tree Christmas forest first appeared on http://ahomeforcrafts.com.
Share

