Felt and pleather laptop bag - handmade
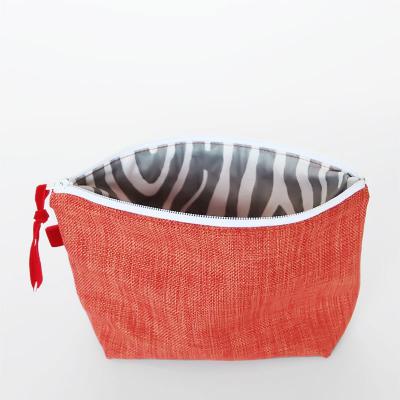
For the longest time I have just wrapped my laptop in a piece of gray felt and stuck it into my handbag. It wasn't very practical and the felt would frequently unwrap and leave the laptop screen exposed - I have one of those laptops that fold down to become a tablet, so the screen is on the outside when collapsed.
Then, when I was going to Haven in July, I thought, what better time than to realize a sewing project I had had on my mind ever since I had some leather pleather left over from a pillow I sewed for the entry reveal.
In addition to the felt I was already using to wrap my laptop with, and a scrap piece of pleather, I also used some white floss, some leather string and a big wooden bea. But you can probably find those at most craft stores.
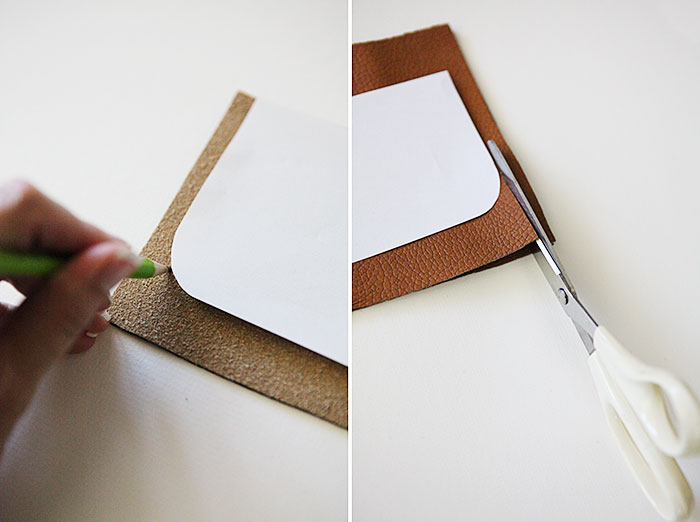
I made a flap template out of paper and made the rounded corners by tracing a shot glass. Then I traced that onto two pieces of scrap pleather. I made the flap the width of the bag and 3 1/2 inches tall.
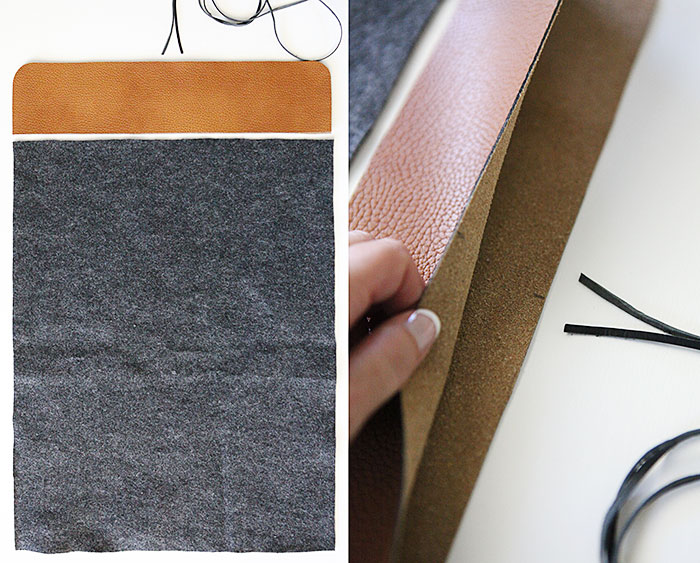
Next, I cut my felt to size by measuring my laptop and adding one inch to the width, doubling up on the height and adding one inch. That way, when the felt is wrapped around the lap top it overlaps by one inch. See below.
I marked the flap in the center for the leather string on the side with the rounded corners.
Then I "dry fitted" it onto my laptop like you see above and made sure I would have that inch of overlap to be sewn into the inside of the leather flap. That sounds slightly more complicated than it was. A lot of words for a little sewing action.
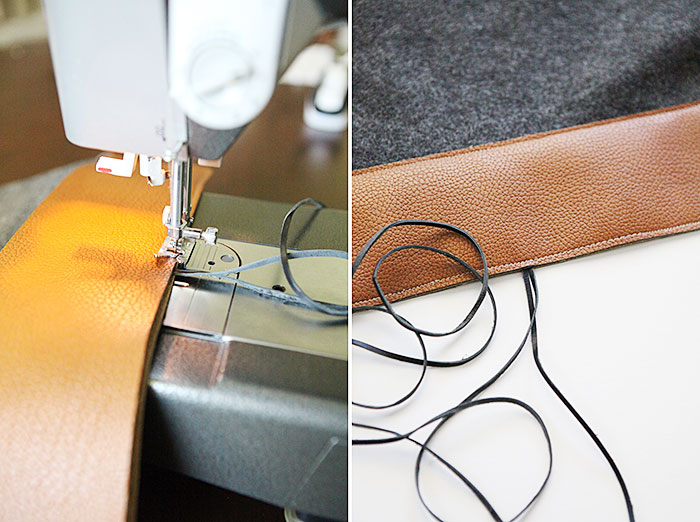
Then I stitched the two leather flaps together, right side out, inserting the two ends of my leather string at my mark. The leather string is 56 inches long, creating a 28 inch long loop. It was a little difficult to get the leather flaps to not slide around while I stitched them together. If I had to do this again, I might glue the pieces together with some fabric glue first.

With the flap attached, I folded up the bottom of the felt to where it would cover the laptop, but leave the flap exposed and hand stitched the sides together.
I don't know if this is an official stitch. If it is, I don't know the name, but maybe a reversed blanket stitch. Or something. I was going for a look of hand stitched little squares along the sides.
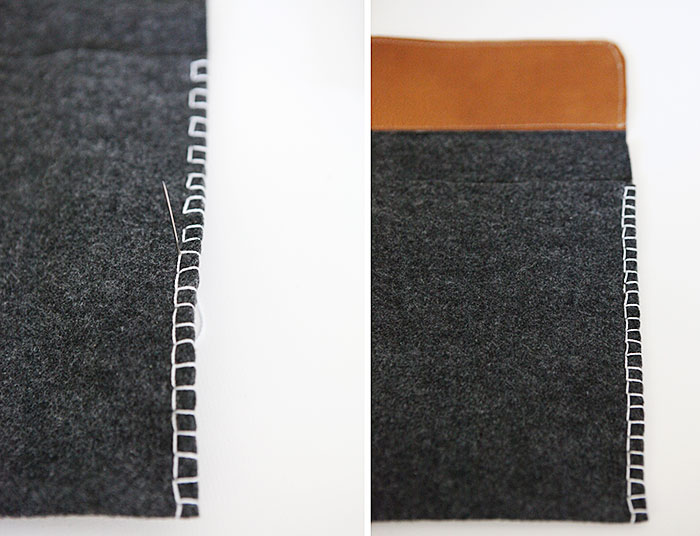
I used white to get a little contrast going.
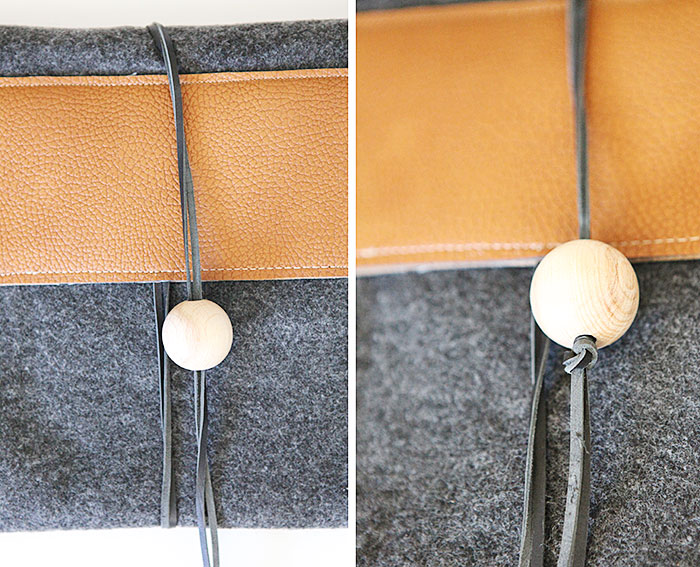
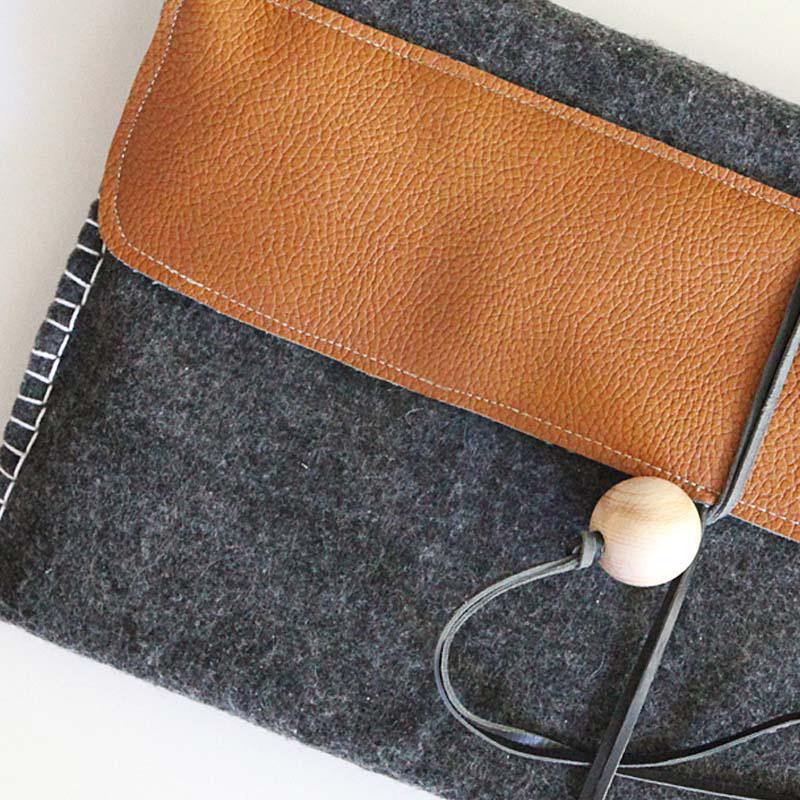
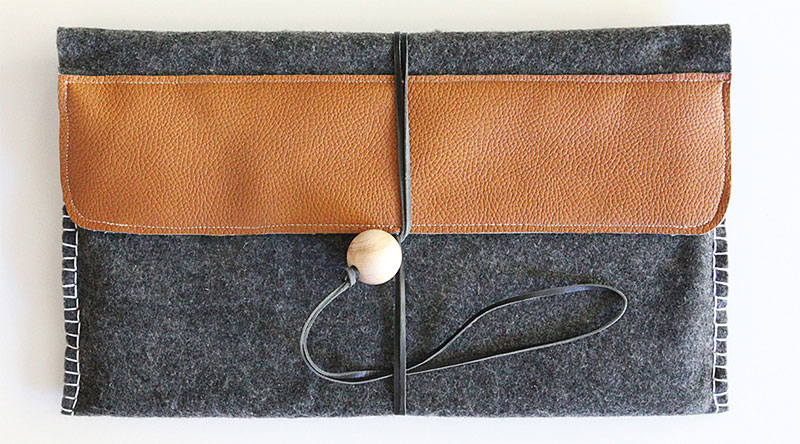
I finished the bag by wrapping the leather string around the bag and threading a bead onto it. Then I positioned the bead just below the flap and tied a knot under it.
To close the bag, I tucked the bead under the string.
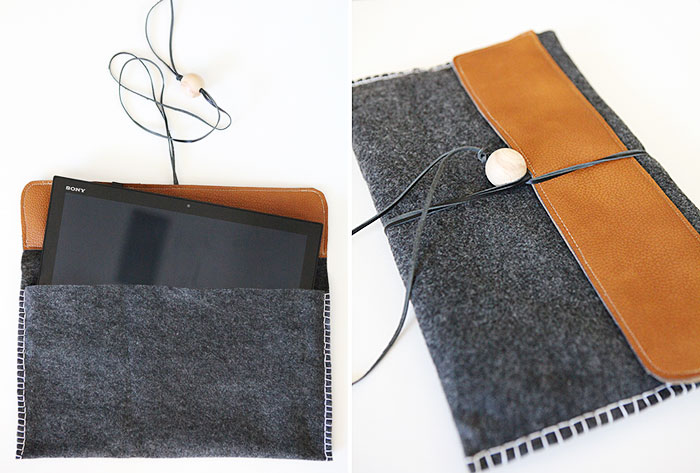
I think the whole project took about 2 hours. It is so easy now to slip my laptop in and out of the case, and it fits into my camera bag, which has saved me from lugging two bags around.
Some blog posts contain affiliate links to products I use. More information
This article: Felt and pleather laptop bag - handmade first appeared on http://ahomeforcrafts.com.
Share

I am a Danish American decorating life in Seattle. I love all things design and I am especially passionate about color, scale and texture.
I can’t think of anything more fun than coming up with a new project, making it, photographing it and sharing it with you on my websites.
AHomeForCeramics.com AHomeForDesign.com AHomeForFood.com AHomeForCrafts.com My Portfolio